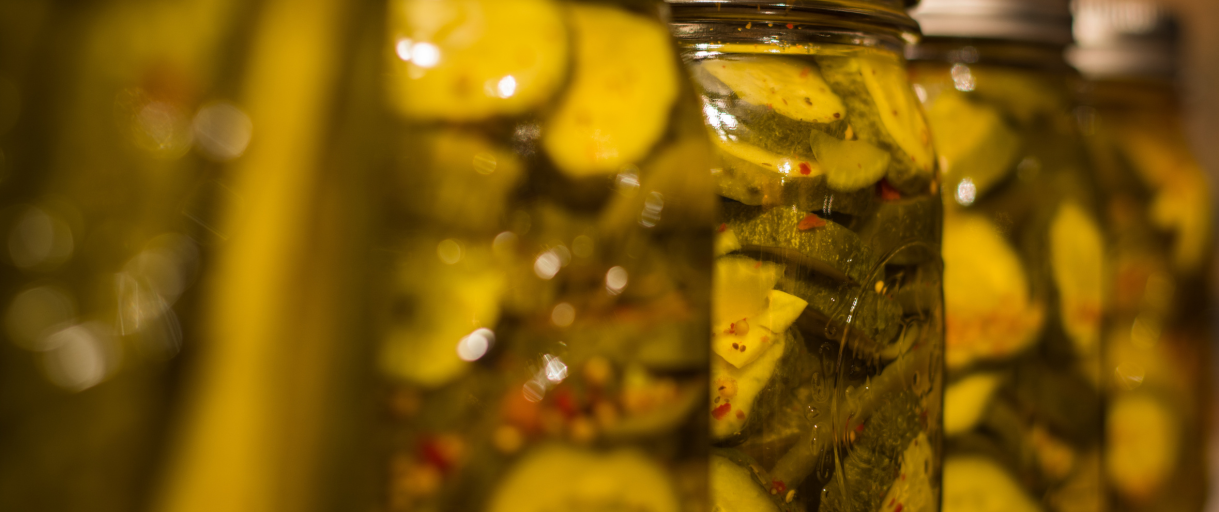
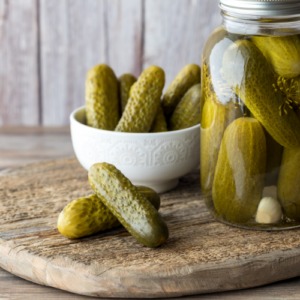
During a crisis, it’s time-tested recipes like this one that can save your life.
The story behind the bread and butter pickles goes way back to the early 1900s, during the Great Depression, when an Illinois couple, Omar and Cora Fanning, found themselves with an abundance of cucumbers they couldn’t sell. So, they did what any skilled person would: they pickled them in a sweet, tangy brine. Soon, they were trading jars of these pickles for basics like, you guessed it, bread and butter. That’s how the name stuck. Ever since then, their popularity has never faded.
Once you try them, you’ll understand why the recipe has lived on. And I’ll teach you exactly how to make them.
Bread And Butter Pickles – The Ingredients You Need
For about 4-5 pint-sized jars of bread and butter pickles, you should gather the following ingredients:
-
6-8 medium cucumbers (preferably pickling cucumbers)
1 large onion (thinly sliced)
-
2 cups white vinegar
-
1 cup sugar
-
1 tablespoon salt (pickling or kosher salt)
-
1 teaspoon mustard seeds
-
1 teaspoon celery seeds
-
1/2 teaspoon ground turmeric
-
1/2 teaspoon ground black pepper
-
2 cloves garlic (these are optional, for extra flavor)
If you’re looking to make this recipe with a bit of a spicier twist, you can also add some crushed red pepper flakes, some cayenne pepper, hot mustard seeds or a bit of chili powder. I’d recommend about 1/2 teaspoon, but it ultimately depends on how spicy you want your pickles to be. You could even choose to add 2-3 jalapenos for an even spicier version. Remove their seeds for a milder heat or keep them for more kick – it’s up to you and how well you get along with spiciness.
How To Make the Old-Fashioned Bread And Butter Pickles Recipe
These pioneer bread and butter pickles are a delicious, long-lasting snack.
Let me show you how to make it in just 7 simple and quick steps:
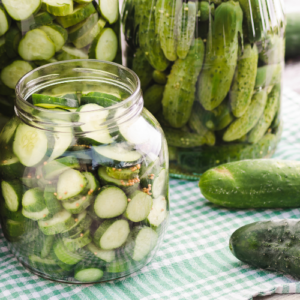
Step 1: Prepare the cucumbers and onion
Wash the cucumbers and slice them into thin rounds, about 1/8-inch thick. If you prefer, you can slice them lengthwise into spears. Peel and slice the onion thinly.
Now, this step was my grandma’s secret to making sure the pickles stay crisp. After slicing the cucumbers and onion, sprinkle them with a bit of sea salt and let them sit for about an hour. This helps draw out excess moisture, which means they’re going to stay nice and crunchy even after the canning process. Don’t skip this part, trust me, it’s a game-changer! Just be sure to rinse them well afterward to remove the excess salt.
Step 2: Drain and rinse
After an hour, drain the cucumber and onion mixture in a colander, then rinse them under cold water to remove excess salt. Set them aside.
Step 3: Make the brine
In a large pot, combine the vinegar, sugar, mustard seeds, celery seeds, turmeric, black pepper, and crushed red pepper flakes (if you chose the spicier version). Stir and bring the mixture to a boil over medium-high heat. Once boiling, reduce the heat and let it simmer for 5 minutes.
Here’s my advice: don’t just toss everything in and call it a day. You need to let the brine come to a slow simmer, so the sugar dissolves and the spices infuse. It’s in this simmering stage that the true flavors of the pickles come alive. Let it bubble for a few minutes before pouring it over the cucumbers. Believe me, you’ll taste the difference.
Step 4: Pack the jars
Firstly, sterilize your jars. This is an essential part of my canning that I never overlook. Some folks think a quick rinse will do the job, but I always boil mine for a few minutes or run them through the dishwasher on the hottest cycle possible. You want to make sure your jars are free from any bacteria that could spoil your hard work. After that, pack the cucumber and onion slices into the sterilized jars, layering them tightly. Add a garlic clove to each jar if desired.
Step 5: Pour the brine
Pour the hot brine over the cucumbers and onions in the jars, leaving about 1/2 inch of headspace at the top. Ensure the cucumbers and onions are fully submerged in the brine.
Step 6: Seal and process
Wipe the rims of the jars with a clean towel, then seal them with sterilized lids and rings. Process the jars in a water bath for about 10 minutes to ensure a good seal.
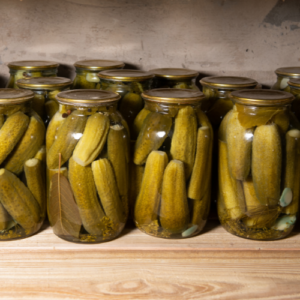
Step 7: Cool and store
Remove the jars from the water bath and let them cool completely. You should hear the ”pop” of the lids sealing. Let the pickles sit for at least 24 hours before opening, but they’ll get better as they age. Store them in a cool, dark place for up to a year.
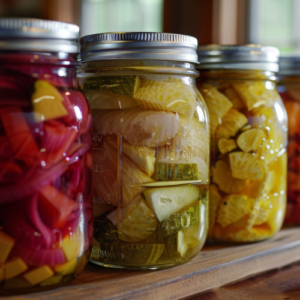
Fermented Bread and Butter Pickles Recipe – A Classic Variation
If you’re considering fermenting your bread and butter pickles rather than following the classic canning recipe, there are a few key differences you’ll need to keep in mind. Overall, the process is not really that different, but here’s what you should know:
1. Skip the vinegar and heat
In traditional canned bread and butter pickles, vinegar is a key ingredient, and the brine is heated to help preserve the cucumbers. If you choose fermenting, you should replace vinegar with water and salt. Also, no heat is used. This allows beneficial bacteria to naturally develop during fermentation, which creates a probiotic-rich flavor that’s a bit different from the sweet and tangy taste of canned pickles.
2. Switch up the brine
The brine for fermented pickles is much simpler. You only need water, sea salt and seasonings like mustard seeds, turmeric or peppercorns. The salt draws moisture from the cucumbers, allowing the fermentation process to begin.
Related: Fermentation 101
3. Skip the water bath
Fermented pickles need to be left at room temperature, ideally 65-75°F, for several days while they naturally ferment. During this time, the good bacteria work their magic. If you choose to go the granny-recipe way, you should process your canned pickles in a hot water bath to create a vacuum seal, which means they don’t require any time at room temperature to ferment and you can store them immediately once sealed.
4. Skip the canning equipment
If you’re fermenting, you don’t need special canning equipment like jars with tight lids or a water bath canner. All you need are clean jars, a weight to keep the cucumbers submerged, if you need it, and a lid that allows gas to escape during the fermentation process.
5. Keep in mind the differences in storing
After fermenting, your pickles will need to be kept in the fridge to slow the fermentation process and preserve their crunch. They can last for months in the fridge and continue to develop flavor. Old-fashioned canned pickles, however, are sealed and can be stored at room temperature for long periods, often up to a year or even more, without storing them in the fridge.
Recipes like the Amish Poor Man’s steak, the Forever Butter, canned Amish burger, and others from the Amish last years without refrigeration – and that’s an Amish secret you can learn directly from them. Here you can see for the first time ever on camera – exactly how they prepare their foods to practically last forever.
How to Can Bread and Butter Pickles The Right Way – My Personal Tips & Tricks
Let’s face it, canning isn’t always bulletproof. Getting your canned bread and butter pickles just right can be a bit of a science. Over the years, I’ve learned a few tricks that guarantee my pickles turn out perfect every time. Here’s how I do it – and how you can too:
After canning a few batches of bread and butter pickles, you’ll likely find yourself running out of brine halfway through. To save time on future canning days, I make a double batch of the brine and store it in the fridge. That way, I always have extra brine on hand when I want to can more cucumbers or even other vegetables like carrots or beans.
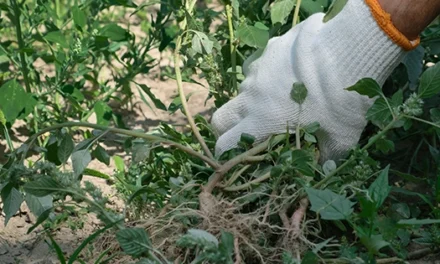
The key to great bread and butter pickles starts with the cucumbers. Trust me: the fresher, the better. I always make sure to pick cucumbers when they’re at their peak. Firm, crisp and with no blemishes. When they’re fresh, they’ll hold their shape during the canning process, which is exactly what we want for that perfect crunch.
If you’re aiming for the ultimate crispiness that lasts, I recommend adding calcium chloride to your jars. This natural food-safe ingredient helps maintain the firmness of the cucumbers even after long storage. And guess what – you can make it right at home, from the egg-shells you probably throw away.
But that’s just one of the 25 ingenious things you can make from things people usually throw away. You check out the method here.
A little bit goes a long way to keeping your pickles crisp for months or even up to a year. I’ve noticed this really makes a difference in texture over time!
Traditional recipes use white sugar, but don’t be afraid to mix things up with different sweeteners. I sometimes like using honey or brown sugar for a more complex sweetness. Honey adds a floral note, while brown sugar brings a hint of molasses, giving the pickles a richer, more layered flavor. If you’re aiming for something a little different, maple syrup can also give your pickles a unique sweetness.
If you want your pickles to have that perfect crunch, my personal trick is adding some grape leaves to my jars. They contain tannins, which help to keep the cucumbers crisp. I like to add one or two fresh grape leaves to each jar before packing in the cucumbers. It’s a natural way to enhance texture, and it’s an old-fashioned trick I learned from my grandmother.
When it comes to packing your jars, it isn’t just about cramming in as many cucumbers as possible. I’ve learned that packing them too tightly can actually lead to problems down the line. If the cucumbers don’t have room for the brine to circulate, they won’t absorb all that flavor. I make sure to pack the cucumbers snugly, but not so tight that they’re squished. That way, the brine can flow through each jar, coating every slice of cucumber evenly.
After filling your jars with cucumbers and brine, it’s important to remove any air bubbles trapped inside. Most people use a knife or spoon to gently tap the sides, but here’s my trick: I use a clean tea towel or cloth to gently press down on the pickles while tapping the jar. The fabric helps to remove the bubbles without disturbing the pickles too much, ensuring a tight, even brine around the cucumbers.
Skipping this step can lead to premature spoilage, mold growth or even fermentation that ruins the pickles. Air exposure can cause the cucumbers to become soft and mushy, ultimately resulting in an unsafe product. It’s overlooked mistakes like this one that can ruin whatever foods you plant on adding to your stockpile.
If you also want to add to your stockpile the meal in a jar that can feed you for a week or the ultimate survival food with a 25-year shelf life, you need to watch this short video. Here, you’ll discover how to preserve eggs without electricity for years, the item you need to remove from your pantry immediately and even how to build a long-lasting stockpile that needs no refrigeration.
After you’re done canning, always wait at least 24-48 hours before opening the first jar. The temptation to crack open a jar right away is real, I get it. But the best pickles need a little time to develop. The longer they sit, the better the flavor. It’s worth the wait! I like to let them sit for a couple of weeks if I can resist, as the flavors really meld together and get even better over time.
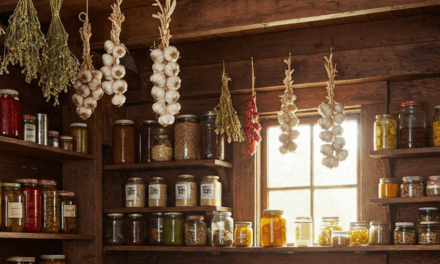
Temperature is one of the most important things when it comes to preserving canned goods. I store my pickles in a cool, dark place where the temperature stays consistently low, around 50-70°F. Heat can cause jars to lose their seals or result in pickles becoming mushy. A pantry or cellar works well, but if you have a basement or a root cellar, that’s even better. The consistent coolness keeps the pickles fresh for much longer.
After canning, I’ve found that storing the jars upside down for 12-24 hours can help ensure a perfect seal. When you flip the jars, the brine rises to cover the lid and edges, which can help eliminate air pockets that might have been trapped during the canning process.
You can find this inside The Amish Ways, a one-of-a-kind physical book packed with tons of time-tested recipes straight from the Amish community.
For the first time, this 200-year old knowledge is available in this beautiful book, written by Eddie Swartzentruber – a man who spent the first 16 years of his life living among the Amish.
Secure your own physical copy today and 3 FREE GIFTS using my personal 76% discount coupon from here.
It’s unique recipes and methods like the ones I wrote above that make the Amish nearly immune to the collapse of society.
Don’t wait until it’s too late!
Only a few copies left + 3 FREE GIFTS. Secure yours today!
Final Thoughts on Bread and Butter Pickles
With your pickles sealed and stored, you’ll always have a jar ready to add that perfect tangy crunch to any meal or keep close during darker days.
Take your time, enjoy the process and soon enough, you’ll have a pantry full of pickles that will last you long after the hot season has passed.
Happy canning!
Frequently Asked Questions About Bread and Butter Pickles
What are bread and butter pickles?
Bread and butter pickles are a type of sweet-and-tangy pickle made from sliced cucumbers, onions, vinegar, sugar, and spices like mustard seed, celery seed, and turmeric. They’re typically sliced into rounds and often used as a condiment or side dish.
Why are they called bread and butter pickles?
The name comes from the Great Depression era, when people would eat these pickles between slices of bread with a bit of butter as a simple, affordable meal. Some say it was even a common payment made to local farmers—pickles for bread and butter!
What do bread and butter pickles taste like?
They have a signature balance of sweet, sour, and a little tangy spice. Unlike dill pickles, which are more sour and savory, bread and butter pickles have a sugary vinegar base that gives them their unique flavor.
Are bread and butter pickles healthy?
In moderation, yes! They’re low in calories and can be a tasty way to sneak in more veggies. That said, they do contain added sugar, so if you’re watching your sugar intake, just keep an eye on portion size. Homemade versions can be made with less sugar if that’s a concern.
What are bread and butter pickles used for?
They’re super versatile. Use them on burgers, sandwiches, in potato or tuna salad, or just enjoy them straight from the jar as a snack. Some people even chop them up into relish for hot dogs or deviled eggs.
You may also like: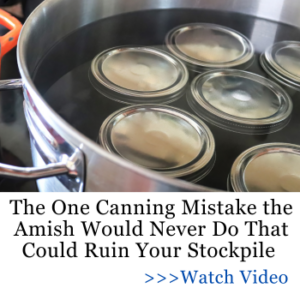
10 Canning Recipes From The Amish
3 Powerful Remedies Grandma Always Had In Her House During The Great Depression (Video)
You Never Thought You Could Pickle These
Fermented Foods for Gut Health: A Guide to Building Immunity and Self-Sufficiency
Deadly Canning Mistakes You Probably Make


