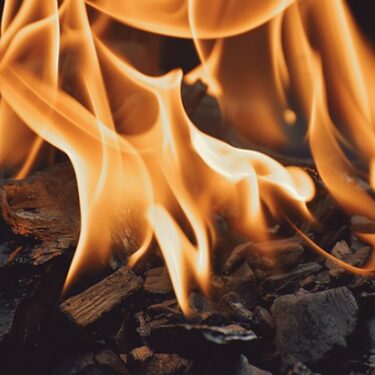
When you first hear it, it doesn’t seem to make sense. People for centuries have successfully preserved meat in wood ashes. It seems to contradict everything we know about how we want our food. It goes way beyond the 5-second rule but can effectively preserve meat for weeks up to months depending on local temperatures and storage.
We’ll get into specifics, but here’s the telegram. The meat is salted or smoked and placed in a container and surrounded by cool, fine ashes. That’s it. The Cherokee nation was well known for this food (meat) preservation process as well as other native tribes and primitive cultures around the world.
Obviously, you rinse and wash the meat before final preparation, but the ash has some remarkable properties that preserves the meat and prevents bacterial growth and mold. Here’s why:
Wood Ash is Alkaline
Alkalinity inhibits bacterial growth and wood ash is loaded with alkaline. It will stop any microbes in their tracks and creates a hostile environment for all manner of germs.
Wood Ash Protects the Meat from Exposure to the Ai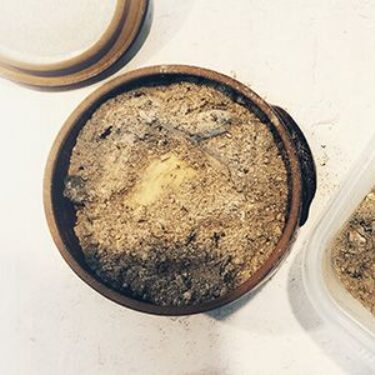
Everything from bacteria to mold spores travel through the air and surrounding meat with the ash creates a barrier to any exposure to open air. This thick layer of ash around the meat also presents a barrier to insects and small animals.
Wood Ash Absorbs Moisture
Moisture is often the enemy to food preservation particularly as it relates to mold growth, but bacteria often thrive in a moist environment. Wood ash also prevents rot, which can be the result of excess moisture in meat stored for long periods.
Would You Believe – Flavor Enhancement?
A lot of this depends on the type of wood, but hickory, maple, mesquite and oak are the woods of choice for smoking meats. The ash from those hardwoods acts in the same way imparting a sm
oky flavor based on the type of wood. What’s important is to avoid ash from softwoods particularly any species of pine. The pine pitch will leave your meat tasting like kerosene. Stick with the hardwoods and try to use a wood you would use for smoking.
More Uses For Wood Ash
Wood ash turned out to be far more useful than I ever expected.
I first learned about it from Eddie Swartzentruber, the author of The Amish Ways Book. This is a very valuable resource, which I went through in just a few days.
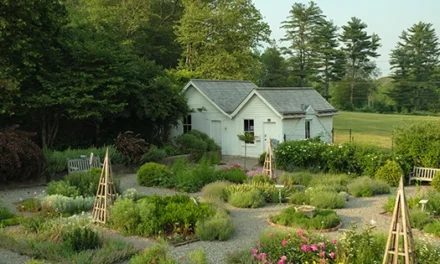
Following his advice, I started using ash in my garden the same way the Amish do, and the results were impressive. You don’t need to do anything complicated. Just sprinkle a thin layer around the base of your plants. It keeps slugs and snails away, and at the same time, it acts as a natural fertilizer and mild insect repellent.
Over time, I noticed healthier leaves, stronger stems, and far fewer pests. The Amish have been doing this for generations, and now I see why. What most people throw away, they use to protect their gardens and nourish their soil.
Here’s what I’ve found the Amish commonly use ash for:
- Sprinkling around cabbages, lettuces, and other greens to deter slugs
- Mixing small amounts into compost to boost potassium levels
- Dusting onto the soil near fruit trees and berry bushes to discourage insects
- Spreading thinly over icy walkways and barn paths in winter
So, the simplest waste, what’s left after burning wood, becomes one of the most valuable things on a homestead. Once I started putting my ash to use, I never looked at the fire pit the same way again.
Making the Best Ash
This seems easy enough but there’s actually a little more to it than scraping ash off the ground from your last fire. The best thing to do is to start your fire in a metal fire pit or a charcoal grill. When you shovel and scrape out the ashes you don’t want dirt or any kind of soil mixed in. That can affect the flavor and may introduce some hardy bacteria that survived at the fringe of the fire.
After you’ve shoveled out the ash (a small garden shovel works great), it’s time to screen it. You don’t want lumps of charcoal or bits of wood. You want a fine and filtered bucket of ash. And remember those hardwoods, but you can combine them if you want by combining oak with maple or mesquite with hickory. Just make sure you don’t use any softwoods to start your fire. Split the hardwood so it lights and you might also want to avoid using paper to start the fire. Try to keep your ash source isolated to the hardwood only from the beginning to end of your fire.
Once the fire is out, let the ashes cool completely before screening. Once the ash is screened, set it aside because you still have some work to do.
Prepping the Meat
Most any meat can be preserved in wood ash including beef, pork, poultry, venison and other game. What’s important is that it be salted or smoked before the wood ash treatment. Salting or smoking removes excess moisture further preserving the meat. Wood ash does a good job of absorbing moisture but it’s wise to give it a head start.
If salting, place the meat on a thick layer of kosher or sea salt and then top it with more salt and let it sit for about 6 to 8 hours. If smoking, smoke the meat for 4 to 6 hours to also give it that reduced-moisture head start.
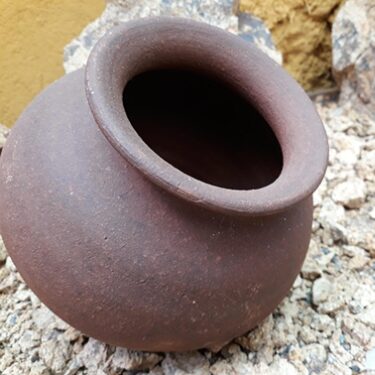
Choosing a container
Native people used clay jars, but you could use a plastic shoebox or any other container large enough to hold a good amount of ash and your meat portions. Typically, the container is not covered. This allows any residual moisture to evaporate up and out of the ash, while the ash continues to protect the meat from the air.
The Final Step
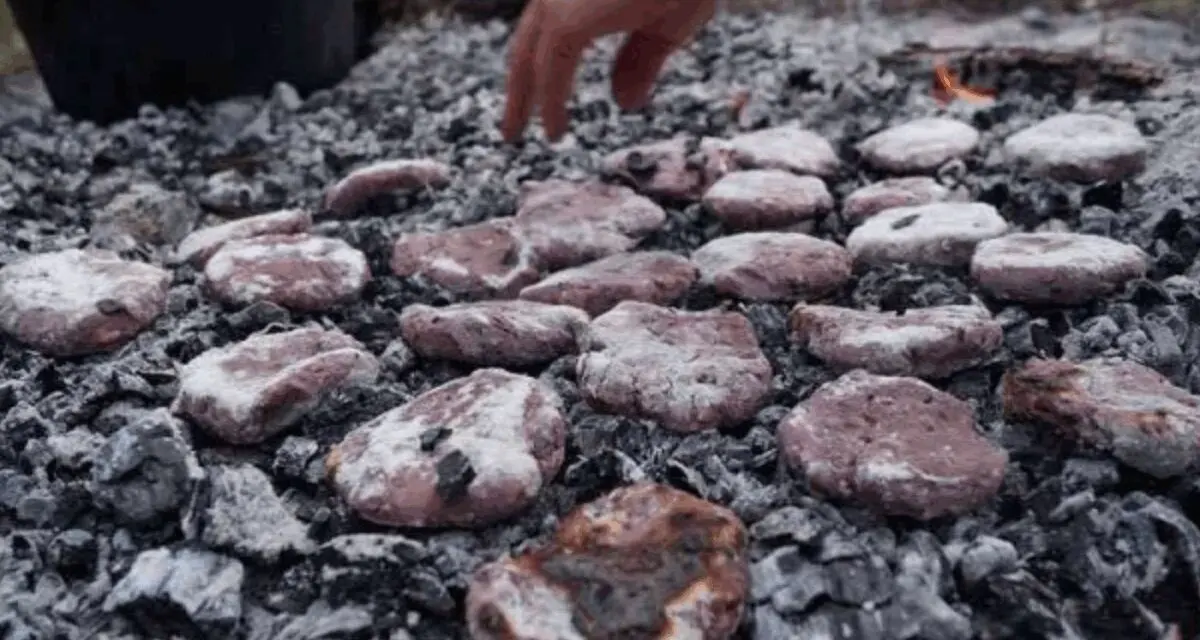
- To preserve your meat in ash, start by filling the bottom of your container with at least 2-inches of ash. If you have a large container you can do a little more.
- Place the meat in the center of the ash making sure that there is at least 2-inches of ash on the sides.
- Finish shoveling in your ash on the sides and on top until the meat is covered with at least 2-inches of ash. Add a little more if there’s room.
- Store the container in a cool, dark place although up high on a shelf in a garage or shed might be a good idea. There aren’t a lot of us who like the idea of ashes in the pantry. You can also store it outdoors but make sure it’s off the ground. Animals will happily dig through the ash if they pick up the scent of meat.
Eating Your Ash Meat
(You want to do this outside)
- Gently shovel or scrape off the top layer of ash until you can grab the pieces of meat.
- Drop the meat into a large bucket of cold water and shake around in the water to get the first coating of ash off of the meat.
- Take the meat inside and run it under cold water while rubbing to get any ash particles out of any crevices or seams. Don’t worry if a little ash remains somewhere. It won’t hurt you.
- Cook or heat the meat anyway you choose until done. Season it anyway you would typically season your meat but lick or give it a little taste first. If it is too salty, immerse in water for 2 hours to leach out some of the salt. Taste a little as you go but don’t taste raw poultry. It really should be cooked first.
Why Would You Do This?
There are a variety of reasons you might preserve meat in ash. It could be as simple as just learning a new survival skill. It works great on a long hunting or camping trip if you don’t have a way to keep meat cool, and someday if there’s a massive blackout for a long duration it may be another and necessary step for food preservation.
You may also like:
Why You Should Bury Your Food in Ash
The Unexpected Way Ash Could Save Your Garden (Video)
Don’t Throw Away Your Wood Ash! Do This Instead
What Happens If You Ash Your Garden
30 Survival Uses For Wood Ashes You Never Thought Of


