I was chopping an oak round. One misjudged strike, and the blade glanced off the wood, biting deep into my shin. Blood soaked my boot within seconds.
Alone, with the nearest hospital two hours down washed-out backroads, I limped to the porch, cursing my carelessness.
I yanked off my bandana, tied it above the wound, and hobbled to the kitchen. Raw apple cider vinegar stung like fire but cleaned it.
A glob of honey from my bees smothered the gash, and a strip of boiled cotton held it all. Three days later: no infection. Just a scar and a lesson. Panic won’t save you. Ingenuity might.
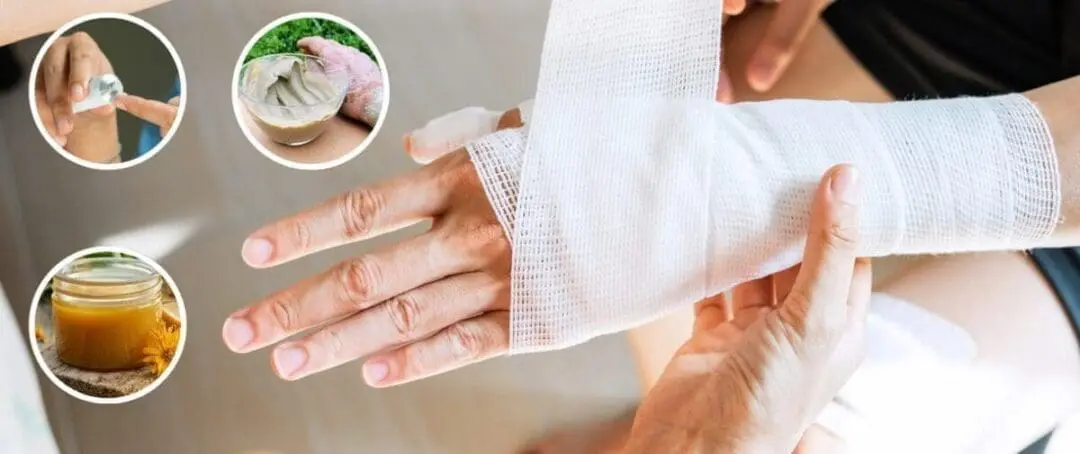
Household Items for Treating Wounds
Let’s cut through the noise. Here’s what works, tested through trial, error, and necessity:
Clean Water & Salt
Clean water is your first weapon. I keep a designated stainless-steel pot in my barn for boiling water during emergencies.
Mix in non-iodized salt (1 teaspoon per 2 cups of water) to create a saline solution that rivals store-bought antiseptics.
After slicing my thumb open sharpening a machete, I soaked the cut twice daily. Salt’s osmotic pull yanks bacteria from tissue, and the wound closed clean despite grimy conditions.
Natural Amoxicillin
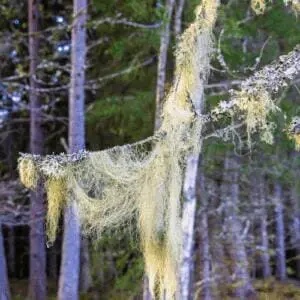
Clean water and salt can work wonders. I’ve used that combo plenty of times to keep a wound clean and infection-free. But when the skin starts turning red, hot, and tight, I would rather use something that the Amish call their “natural amoxicillin”
It’s not a pill, and it doesn’t come from the drugstore. But this old remedy hits harder than anything I’ve found off the shelf.
What it does:
- Slams the brakes on infection before it gets a foothold
- Drains swelling and calms down angry skin fast
- Kicks your immune system into gear like it’s on a mission
- Doesn’t just treat the surface – it goes deep where it counts
I’ve used it when a cut looked like it might seriously go sideways, and here’s how my experience went:
- Pain started fading almost immediately
- The swelling didn’t just ease up – it melted away within hours
- By next day, the redness was gone
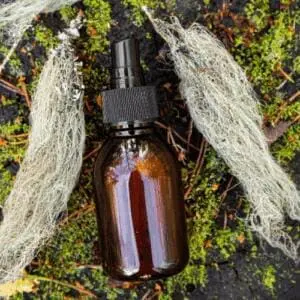
Saline is step one. This 3-ingredients recipe is what I use when I need to end the fight before it even begins.
Raw Honey
Forget the grocery-store squeeze bottles. Raw, unprocessed honey—straight from your hives or a trusted local source—is a biological bandage.
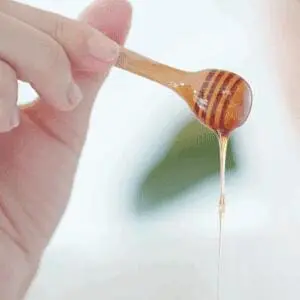
Its enzymes generate hydrogen peroxide, killing bacteria without harming healing tissue. Key detail: Processed honey is heat-treated, destroying its medicinal enzymes. Always use raw.
Aloe Vera
If you grow aloe, you’ve got a living first-aid kit. Split a mature leaf, scrape out the clear gel, and apply it directly to burns or abrasions.
After a day repairing roof tin under a scorching sun, my shoulders blistered; fresh aloe cooled the burn overnight and sped healing by days.
For deeper cuts, mix aloe gel with honey (50/50) to boost antimicrobial power.
Black Tea Bags
Tannins in black tea act like nature’s clotting agent. Soak a tea bag in hot water, let it cool, and press firmly on a bleeding cut.
Green tea works, but black tea’s higher tannin content packs more punch.
Dried Yarrow Powder
When bleeding won’t quit or you need something that does more than just soak it up, reach for this homemade stop-bleeding yarrow powder.
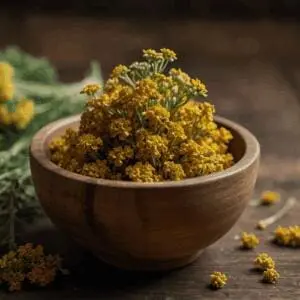
It’s not flashy. It doesn’t sting. And it works faster than most people expect.
What I’ve seen it do:
- Stopped bleeding in seconds, even when pressure alone wasn’t cutting it
- Calms angry, swollen skin like flipping a switch
- Keeps infection at bay with natural antimicrobial power
- Help damaged skin knit itself back together and supports tissue repair so healing kicks in right away
The first time I used it was on a knuckle I sliced wide open while fixing a fence. Blood wouldn’t stop, and it wasn’t in a spot I could easily bandage. Sprinkled on some on this powder, held it for a minute, and just like that the bleeding slowed, then completely stopped. The next day, it already looked better than I expected.
This is just one of the 200+ powerful remedies you need for every part of your body that you can find in Dr. Nicole Apelian’s book. Now, I keep a jar in my kit, right next to the stuff I used to think I needed.
Activated Charcoal
Food-grade charcoal binds toxins in bites or infected wounds.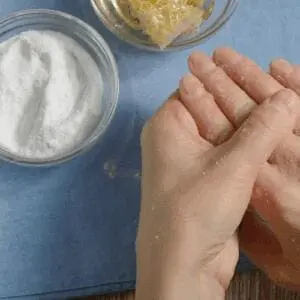
When a dog in our hunting group was bitten by a non-venomous snake, we mixed charcoal powder with water into a paste, slathered it over the punctures, and wrapped the leg.
It bought us three hours to reach a vet.
Warning: Never use charcoal on burns or open wounds—particles can embed in tissue.
Baking Soda
A paste of baking soda and water neutralizes acidic irritants like bee stings or poison ivy.
For a wasp sting last summer, I mixed 1 tablespoon of soda with a few drops of water, dabbed it on immediately, and watched the swelling retreat in 15 minutes.
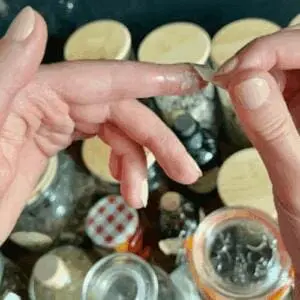
Essential Oils
Tread carefully here. Dilute 2 drops of lavender oil in 1 tablespoon of coconut oil for minor scrapes—it soothes pain and fights surface bacteria.
Use this on shallow cuts, but never near your eyes, deep wounds, or on animals. Their livers can’t metabolize the compounds.
Plastic Wrap
Surprised?
Plastic wrap creates an occlusive barrier for burns, preventing air exposure that triggers pain.
After treating a scalding from a boiling sap mishap, layer honey over the burn, cover it with plastic wrap, and secure it loosely with tape.
The wrap will trap moisture, accelerating healing without sticking to the wound. Caution: Never wrap tightly—swelling needs room.
Superglue
Cyanoacrylate is a last-resort wound sealer for shallow, clean cuts.
After slicing your palm on a tin roof edge, sterilize the cut with saline, pinch the edges together, and dab a tiny drop of glue along the seam. It’ll help for two days until you can suture properly.
Use only on superficial wounds, avoid mucous membranes, and never glue dirty or infected cuts. Medical-grade glue (Dermabond) is safer, but superglue works in a pinch.
The Amish also have their own take on this wound sealing method, and it’s not something you’ll find in a hardware aisle.
They’ve been making their own version of medical superglue for generations. It’s not synthetic, but it holds just as well, and comes with natural compounds that don’t just seal the wound. They help heal it, too.
The first time I saw it, someone had split their palm wide open working in the barn. Instead of reaching for a bandage, they dabbed this dark, sap-like glue across the cut.
Within seconds, the wound was sealed tight. The next morning, the skin around it already looked calm and clean. Learn the full step-by-step recipe here.
Step-by-Step Wound Management Process Using Household Items
Step 1: Assessing and Cleaning the Wound
Start by asking two questions:
Is this bleeding lethal? and What’s inside the wound?
For punctures, like when your dog steps on a thorn. Soak the paw in warm saline for 10 minutes to draw out infection.
Never skip this step, even under pressure.
A friend once ignored gravel in his knee after a fall. Three days later, pus forced him to dig the bits out with sterilized tweezers. Painful lesson.
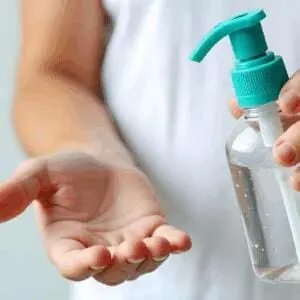
Once the wound’s clean, apply a thin layer of antibiotic ointment. If you don’t have any other options on hand, you could use Neosporin or another store-bought oinment, but it’s not always the best long-term solution. Most store-bought ointments contain a mix of antibiotics like neomycin and polymyxin B. While they can help prevent infection, overusing them can lead to antibiotic resistance, something that’s actually becoming more common than most people realize.
Some even have allergic reactions to ingredients like these, causing redness, itching or delayed healing.
And then there’s the petroleum jelly base, which is essentially a byproduct of the oil industry. It doesn’t actually nourish or support the healing process. It just sits there.
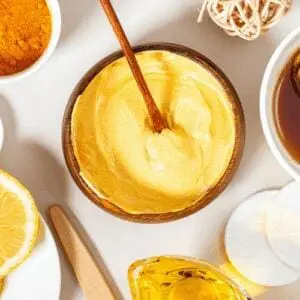
So why not make your own DIY antibiotic salve that works even better than most store-bought products, all without the harmful lab-made chemicals? Not only does it give you full control over what goes on your skin, but it also supports your body’s natural healing process more effectively.
It’s simple to make, and the results often surprise those who try it. The best part? It can outperform store-bought options, all while being free from the unnecessary additives and chemicals you don’t want in your body. And you can find the exact recipe I use right here.
I recommend you have this guide in your home. The Home Doctor book is a 304 page doctor written and approved guide on how to manage most health situations when help is not on the way.
Step 2: Applying the Treatment
Match the remedy to the wound. For burns, slather honey thick as frosting. Its stickiness seals out bacteria.
For deep cuts, mix aloe gel and honey (50/50) to speed healing.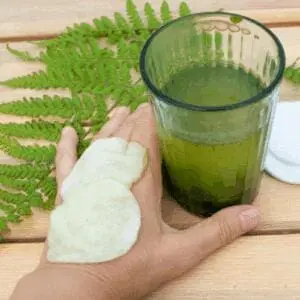
Bleeding? Press a cooled black tea bag directly on the wound. Tannins act like nature’s clotting agent.
For bites or suspicious punctures, paste activated charcoal over the area (unless it’s a venomous snake, then keep the limb still and get help).
Step 3: Securing the Wound and Monitoring Progress
Improvisation is key. Use boiled cotton sheets, duct tape, or even sanitary pads as dressings.
Pack your wound with honey, cover it with a sterilized flour sack towel, and secure it with vet wrap (stretchy, self-adhesive bandages for livestock).
Check every 4-6 hours. Redness creeping beyond the wound edges? Heat or throbbing?
That’s infection. Soak the wound in warm saline and apply honey, but by day three when fever hits, take antibiotics.
If you’re hesitant about using pharmaceutical antibiotics, the Amish have their very own all-natural version. It’s a carefully crafted blend of herbs with strong antimicrobial properties, and it’s known for its ability to fight off infection.
It can help reduce inflammation, promote faster healing, and supports the immune system, all without the harsh chemicals found in traditional medicine. And you can learn the original secret recipe, step-by-step, straight from Eddie Swartzentruber, a former member of one of the most conservative Amish communities in all of the United States.
When to Seek Professional Medical Help
Stubbornness can cost fingers, or worse.
Recognize these non-negotiable red flags:
- Fever above 101°F or chills. Your body’s screaming systemic infection.
- Pus with a foul odor. Cloudy yellow drainage means bacteria are winning.
- Loss of sensation or movement. A nerve or tendon may be severed.
- Animal bites, especially from raccoons, bats, or unvaccinated dogs. Rabies is 100% fatal once symptoms start.
- Tetanus-prone wounds (rust, soil, manure). If your last booster was over 5 years ago, skip the debate. Go.
DIY stops at the first sign of spreading heat or swelling.
Venomous snake bites? Folk remedies like suction or tourniquets are lethal myths. Keep the limb still, below heart level, and get transport. I keep a SAM splint in my kit solely for this scenario.
DIY Wound Care Kits
Your emergency kit shouldn’t be a jumble of expired bandaids and half-used antibiotic ointment.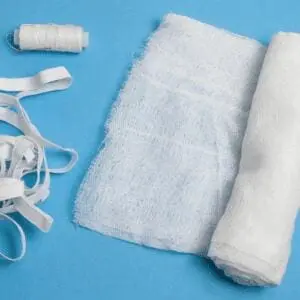
Start with non-negotiables: unopened rolls of gauze, medical tape, nitrile gloves, and a sealed bottle of saline (or a small jar of salt to mix on-site). Add a 4-ounce jar of raw honey, because sugar-based dressings outlast most gels.
Customize for your terrain. If you’re in rattlesnake country, toss in a SAM splint and a sharpie to mark swelling progression. For burns (common around woodstoves), include a fresh aloe leaf wrapped in beeswax paper—it stays viable for a week.
Consider adding Yarrow tincture. This powerful herb has natural antibacterial, anti-inflammatory and astringent properties. It is an excellent addition for stopping bleeding and fighting infection. You can apply it directly to wounds or take it internally. It supports faster, cleaner healing. It’s small, lightweight, and incredibly effective in an emergency. You can either make it yourself at home or, if you want to skip the hustle and bustle of sourcing and preparing your own, you can directly purchase it from Nicole Apelian’s Apothecary.
Her tinctures are double-extracted in alcohol and water, so that you can get the maximum potency from the herb. She also uses the spagyric method, which extracts the full spectrum of compounds, preserving the plant’s natural healing properties. With Nicole’s tinctures, you get the best of nature without the hassle of preparation, allowing you to focus on what matters most: your healing.
Storage hacks matter. Keep activated charcoal in a sealed glass jar—it’s useless if damp.
Store tea bags in a ziplock with a silica packet to prevent mold. I stash my kit in the barn loft, but duplicates live in the truck and workshop. Check supplies every six months.
Staying Safe on the Homestead and Beyond
Keep wounds clean. Know when to escalate. And never let pride override reason.
Teach every family member how to mix saline, stop bleeding, and apply pressure.
And remember: no amount of aloe or charcoal replaces a tetanus shot or proper stitches.
After a lifetime of close calls, I’ve learned this – the line between “I handled it” and “I need help” is thinner than razor wire.
Respect it.
Stay sharp. Stay stocked. Stay alive. Your homestead depends on you.
You may also like: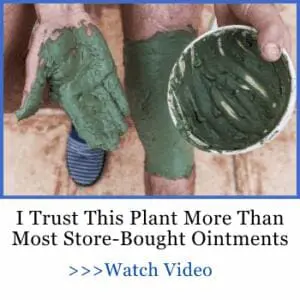
Dangerous Household Items You Should Get Rid Of
Survival Items You Need but Never Heard About (Video)
How to Make Your Own DIY Homestead Defense Kit
Why Guns Alone Won’t Keep Your Homestead Safe
Power Outage: How To Survive The First 7 Days


