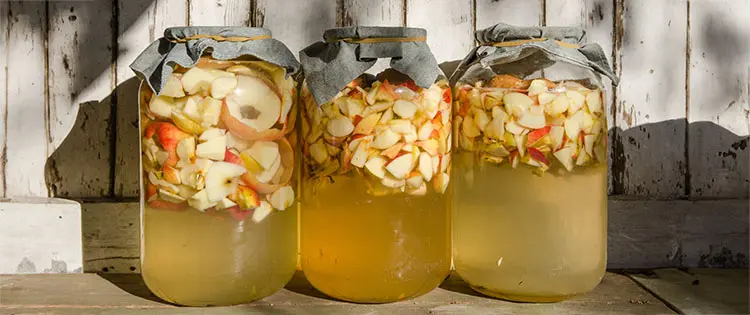
The concept of vinegar first showed up about 8,000 years ago. Ancient people discovered that juice made from fruits would eventually turn into wine. They also realized that wine would turn into vinegar when exposed to air. Eventually, they noticed that vinegar from spoiled wines could flavor and preserve foods. At that point, they refined the vinegar-making process, and one result was apple cider vinegar. That being said, here’s how to make apple cider vinegar.
It’s important to note that making apple cider vinegar begins by creating apple cider. The cider ferments into hard cider with up to 40% alcohol content. The hard cider undergoes a second fermentation stage, which produces the vinegar.
Vinegar is an Acid
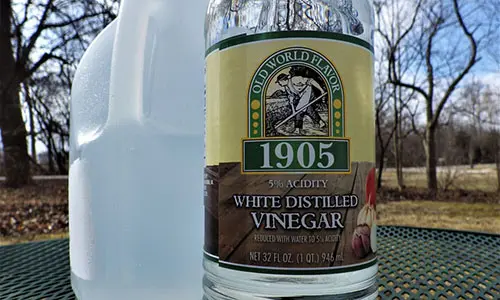
What makes all vinegar sour is acetic acid. Store-bought vinegar usually contains a 5% concentration of acetic acid. To measure the acidity of homemade cider vinegar, you’ll need a titration process. Search online for a “wine-making titration kit” to find plenty of options. These kits are also available at wine-making or home-brewing stores.
Another way to test acidity is by using pH test strips, which you can buy at most pharmacies. A pH of 3 on a test strip indicates a 5% dilution of acetic acid, which is a good general goal for apple cider vinegar. If the strip shows a pH closer to 2, add a cup of water and retest. Repeat this process until the strip indicates a clear pH of 3.
This step is crucial. The acidity of most store-bought vinegar ranges from 4 to 8%. Vinegar with a 5% acidity level is recommended for canning and food preservation.
Higher concentrations can cause intestinal distress or worse, depending on your health. To dilute vinegar, add water until your measurements reach the percentage you want. Avoid adding more apple cider, as it will restart the fermentation process. Stick to water for dilution.
Making Apple Cider Vinegar
Temperature always plays an important role in fermentation. You must maintain the temperature between 60° and 80°F. A pantry or cabinet around a steady 70°F creates the ideal environment for fermentation and vinegar production.
You’ll also need the right equipment.
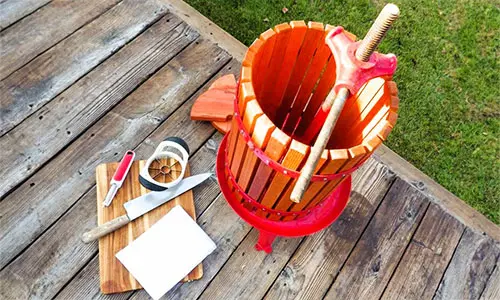
Equipment
- A Cider Press for making cider (available online or at some home centers but you could also use a food processor that we’ll cover later).
- Knife
- Cutting board
- An apple corer/slicer
- A large, 1-gallon glass jar with a lid that can be tightened or kept loose. You could also use a 1 or 2-gallon crock with a lid. (Do not use any type of metal container or they will be corroded by the vinegar)
- An apple chopper, food processor, or blender to chop the apples.
- Fine mesh cider sacks to contain the chopped and crushed apples for pressing
- Coffee filters if you want a translucent vinegar
Ingredients
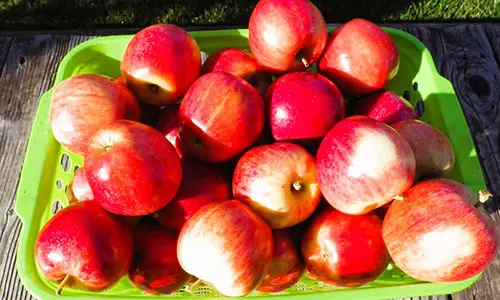
Fresh, ripe apples work best when picked in fall or winter. You can combine different varieties and even mix in crab apples. What’s important is that the apples are mature and ripe. Pick them later in the year when their fructose or sugar levels reach their highest point.
You’ll also need yeast. Make sure to use a special yeast made for winemaking, not bread yeast. If you can’t find yeast at a store, you can harvest wild yeast from wild grapes. That white dust on the grapes contains wild yeast.
Sugar is another key ingredient. You can substitute honey or maple syrup, but sugar fuels the fermentation process. The standard recommendation calls for 1 cup of sugar for every gallon of juice. You can ferment without adding sugar, thanks to the apples’ natural sugars, but this turns the process into one that takes weeks or even months instead of days.
Finally, you’ll need water. Add water only to reduce the acidity of your cider vinegar.
Fundamental Steps
- Start by making a cider from ripe apples.
- Ferment all of the sugars to alcohol through “yeast fermentation.” You will want to install an oxygen block so your fermenting cider can release carbon dioxide without allowing air inside. We’ll discuss how to make one.
- Ferment all of the alcohol to acetic acid through “acetic acid fermentation.” (This happens by itself –no need to add anything – just exposure to open air)
- Clarify the acetic acid through cheesecloth to slow further fermentation and decomposition.
- Hot water bath process your cider vinegar to totally stop fermentation and preserve it if you want to keep it for long-term storage.
Some people skip the hot water bath processing step to preserve something called the “mother.” This is the probiotic bacteria that triggered fermentation and has some health benefits. Just make sure you keep any unprocessed apple cider vinegar refrigerated.
Making the Cider
Cut up and crush the apples removing the seeds and the core.
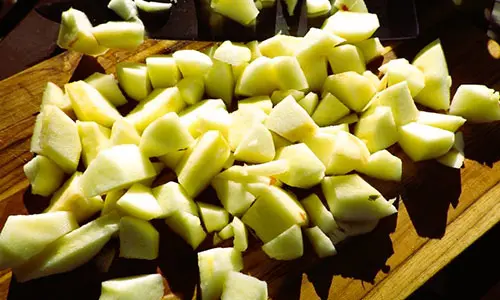
Place the apple pieces in a mesh bag and press out the cider into a glass bowl or large canning jar.
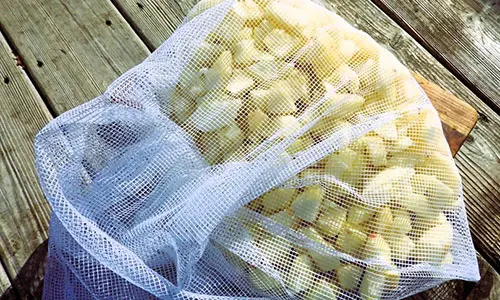
Put the mesh bag in the apple press and crush it to a juice.
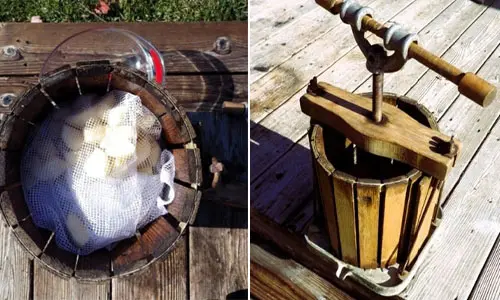
You could also process the apples in a food processor and press through a cheesecloth-lined strainer.
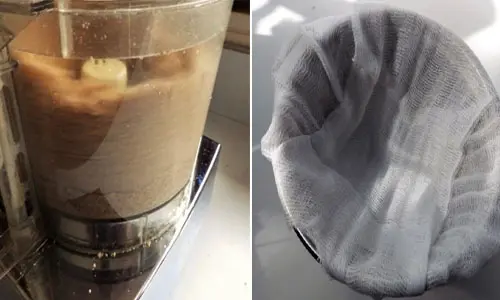
You then carefully lift the cloth and apple mash over the bowl and gently turn and squeeze the mash ball to release as much juice as possible.
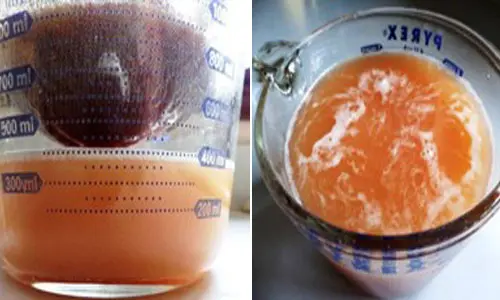
If using an apple cider press your juice will be filtered by the mesh bags but it should still be collected in a glass bowl or jar.
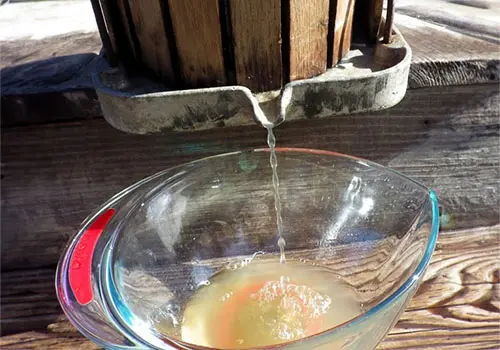
Repeat this process until all of your apples are juiced and then add a cup of sugar per gallon to the cider.
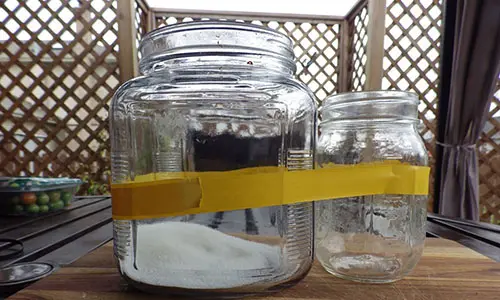
Mix it well with a wooden spoon to dissolve the sugar.
Add a packet of wine maker’s yeast to the cider. One packet will do for most amounts of cider although a packet per gallon is a general guideline, but a packet in a half gallon will do no harm.
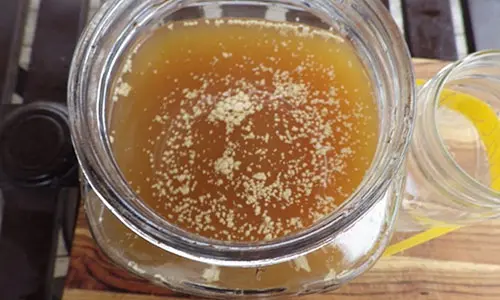
Yeast is a living culture and will survive, multiply, and thrive in the right environment over a period of time. This can take a week to a month. The way to assess progress is to taste it. Just remember that what you’re tasting is applejack or hard cider and it will have alcohol in it.
Tighten the Lid on the Jar
Drill a hole in the jar lid in the center and insert a length of tubing into the hole. Tubing should be in the air space above your fermenting cider.
Place the other end of the tube into a glass or jar of water. Weight it down with a bolt so the end is always underwater. You should also ensure the hole for the hose is sealed with a silicone sealer or tape.
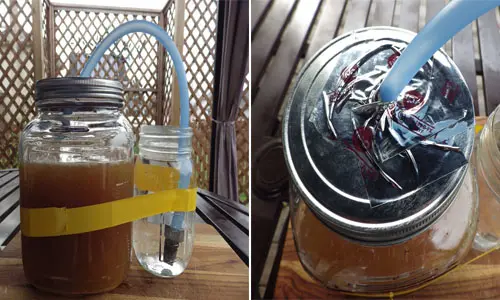
The carbon dioxide will bubble into the water and be released but the water will prevent any oxygen from getting into the fermenting cider.
Store in a dark place out of the sunlight that maintains a temperature around 70° F. but no lower than 60° and no higher than 80º.
From Hard Cider to Apple Cider Vinegar
Stir your cider once or twice a day and always smell the aroma and taste to assess progress.
When you’re satisfied that you have hard cider, remove the airlocked lid and replace it with layers of cheesecloth secured by a rubber band.
Exposing the hard cider to air causes it to sour over time. Skim the scum as needed. Scum often forms on the surface of fermenting cider. When it appears, skim it off.
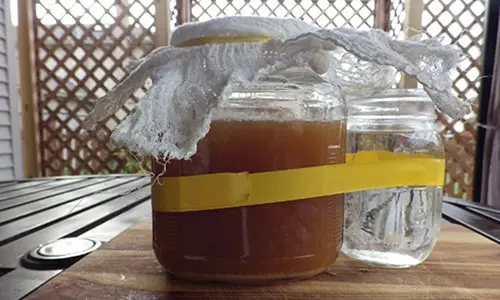
Test with a pH test strip for reassurance. If you want to confirm that fermentation is progressing, test the cider with a pH strip or titration tools. Filter through two layers of cheesecloth. This step removes large particles and yeast.
Adjust the dilution with water. Use your pH test strips or titration tools to ensure the proper acidity. Pour the vinegar into canning jars. Then, process them in a hot water bath for 15 minutes.
Store your cider vinegar with your other vinegar in a cool, dry place.
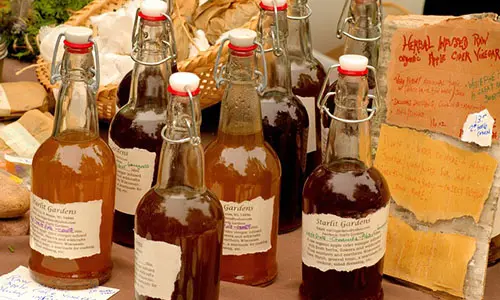
If processed it should be kept for years. If not processed, keep it in the fridge or a root cellar and use it within 6 months to a year.
Be Patient
Fermentation is a gradual and dynamic process. Especially when you’re double fermenting to vinegar, give it time and just know that eventually, that vinegar will show up. It was always the greatest disappointment of ancient winemakers.
How To Store Food Without Electricity That Can Last Up To A Year (Video)

