Time’s ticking on summer. Days are getting shorter. And there’s a subtle crispness in the atmosphere whispering autumn’s approach.
It’s a bittersweet moment for us homesteaders, isn’t it?
No matter where you’re homesteading across the US, you’ll feel that familiar nip in the air and see the wild grasses turn golden. It’s nature’s way of saying, “Time to wrap things up, folks!”
But here’s the thing – this transition isn’t just about saying goodbye to summer. It’s our golden opportunity to set ourselves up for success in the seasons ahead.
Ready to squeeze every drop of potential from summer’s end? Let’s get to work.
Summer Must-Do DIY Projects
I’ll never forget the year I put off repairing my chicken coop until late fall. Let me tell you, trying to hammer nails with numb fingers isn’t my idea of a good time!
That’s why I now swear by getting my DIY projects done while the weather’s still warm. Trust me, your future self will thank you. There’s something deeply satisfying about working with your hands in the open air, isn’t there?
Plus, completing these projects now sets you up for a smoother transition into fall and winter.
Let’s walk through some of my favorite end-of-summer DIY projects that have made a world of difference on my homestead.
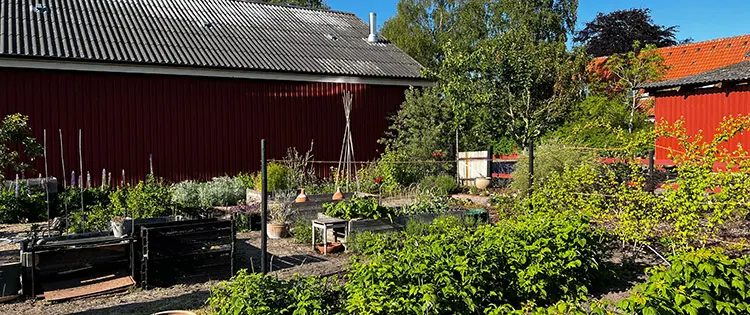
Garden Structures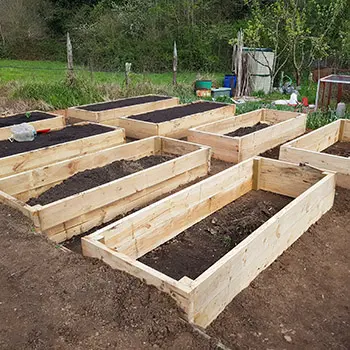
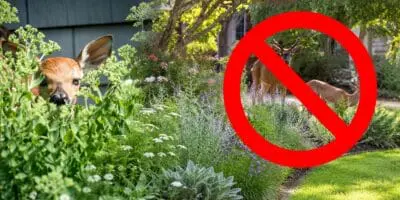
I’ve found that sturdy garden structures are the backbone of a productive homestead. This summer, my focus is on several key garden improvements. I’m reinforcing my raised beds by replacing rotting cedar boards with new ones. Additionally, I’ll be repairing the fence to address weak spots and keep deer from munching on my fall crops. I’m also working on building a new trellis, specifically experimenting with a cattle panel arch to support my winter squash.
Make sure to use weather-resistant materials like cedar or pressure-treated lumber. I learned this the hard way after replacing my pine fence posts three times in five years!
Compost Bin Upgrade
A good compost system is worth its weight in gold. This year, I’m upgrading from a single bin to a three-bin system. My plan is to use Bin 1 for adding fresh materials, Bin 2 for actively decomposing compost, and Bin 3 for storing finished compost.
I’m using pallets for the frame and hardware cloth to keep rodents out. It’s a simple design, but it’ll make turning and harvesting compost so much easier.
Related: DIY Compost Tea
Chicken Coop Expansion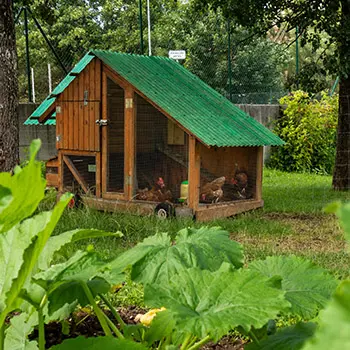
My girls (that’s what I call my hens) are getting an addition to their coop this summer. I’m adding a covered run to give them more space during our rainy winters. Here’s what I’ll be including in the new design: a sturdy roof to protect against rain, removable side panels for summer ventilation, a built-in dust bath area, and predator-proof hardware cloth on all sides.
Remember, happy chickens lay more eggs!
Preserve Summer’s Bounty
There’s nothing quite like the satisfaction of a pantry stocked with home-preserved goodies.
I still remember my first canning session – the kitchen was a disaster, and I was sure I’d poisoned us all! But now, years later, it’s become a cherished late-summer ritual.
Preserving your harvest isn’t just about saving money or being self-sufficient (though those are great perks). It’s about capturing the essence of summer in a jar, to be enjoyed when the world outside is cold and gray.
Let me walk you through my preserving process and share some hard-earned tips.
Related: Canning VS. Freeze Dry
First off, let’s talk about canning methods. There are two main types of canning: Water Bath Canning and Pressure Canning. I rely on Water Bath Canning for high-acid foods like fruits, jams, and pickles because it’s straightforward and requires minimal equipment. For low-acid foods such as vegetables and meats, Pressure Canning is essential. Although it requires a pressure canner, which might seem intimidating at first, it’s become a trusty companion in my kitchen.
Here’s a quick rundown of some of my favorite things to can:
Food | Canning Method | My Favorite Use |
Tomatoes | Water Bath | Homemade pasta sauce |
Green Beans | Pressure | Thanksgiving casserole |
Peaches | Water Bath | Winter cobbler |
Salsa | Water Bath | Taco nights |
Chicken Stock | Pressure | Hearty winter soups |
But canning isn’t the only way to preserve your harvest.
Here are some methods I rely on:
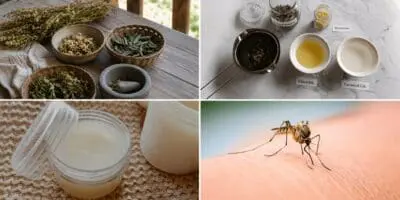
Dehydrating is fantastic for herbs, fruits, and vegetables; my solar dehydrator has truly revolutionized the process. Freezing works well for berries and blanched vegetables; just freeze them on a tray first to avoid clumping before transferring them to bags. Pickling is versatile—I’ve pickled everything from cucumbers to watermelon rinds. Fermenting also plays a crucial role in my kitchen, with staples like sauerkraut, kimchi, and homemade hot sauce.
Now, I know canning can seem daunting at first. But trust me, once you get the hang of it, you’ll be hooked.
Setting Goals for the Off-Season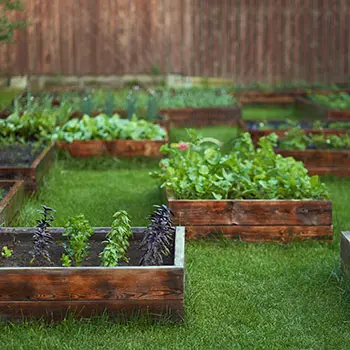
As the days grow shorter, I find myself naturally turning inward. It’s a time for reflection, for dreaming, for plotting next year’s adventures. I’ve learned that the “off-season” is anything but off – it’s when the real magic happens in a homesteader’s mind.
Every year, as I put my garden to bed, I grab my trusty notebook (weathered and soil-stained as it is) and head to my favorite thinking spot.
For me, it’s an old oak tree at the edge of my property. I’ll never forget the epiphany I had there three winters ago, sketching out plans for the permaculture food forest that’s now thriving behind my house.
Related: How to Survive a Summer Power Outage
As I wrap up the season, my first step is to reflect on the past year by asking some key questions: What worked well? What didn’t, and why? What was most enjoyable? What felt like a chore? For example, last year I learned that my ambitious squash planting took over half the garden—sometimes less truly is more.
Next, I dive into planning for the coming year. I use a mix of graph paper for garden layout and a spreadsheet for crop rotation. This helps me visualize and organize my next garden.
During the off-season, I focus on skill-building by setting learning goals. This year, I’m taking an online course in food fermentation, attending a workshop on beekeeping, and reading up on heritage breed livestock. I also find that local extension offices provide valuable resources for ongoing education.
Embracing the Cycle of Seasons
As the wheel of the year turns, I’m reminded of a saying my grandmother used to have: “A homesteader’s work is never done, but that’s the beauty of it.”
How right she was!
There’s always something to do, something to learn, something to improve. But that’s what makes this lifestyle so rewarding. As you go about your end-of-summer tasks, I encourage you to approach them not as chores, but as investments in your homestead’s future.
I’d love to hear about your end-of-summer plans. What projects are you tackling? What new skills are you hoping to learn this winter? Share your thoughts in the comments below!
You may also like:
6 Cheap DIY Projects You Can Only Do This Summer
How To Store Food Without Electricity That Can Last Up To A Year (Video)
Foods That Are Safe To Preserve In a Water Bath Canner


