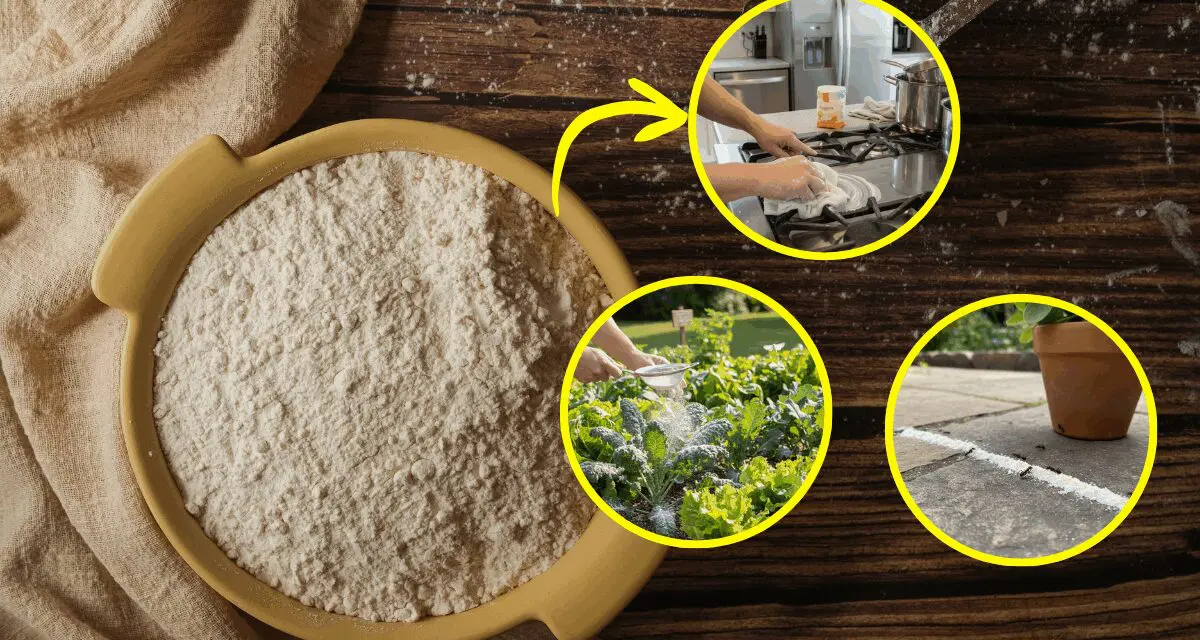
Usually when we think of flour we think of bread, biscuits, pie crusts and cookies.
But flour has some surprising characteristics that lend it to other uses. On the one hand, it’s a mild abrasive. On the other hand, it acts as a lubricating powder. When added to water and other liquids it presents binding properties that are both unique and significant.
We’re going to explore all the ways you can use flour beyond cooking, and yes some of those uses will stay in the kitchen. So, let’s get started.
1. Clean Copper Pots and Pans
Flour acts as a mild abrasive that cleans copper pots and pans without scratching them. You mix equal parts of flour, salt and vinegar and scrub away. Rinse under water and dry off and it might surprise you how much it gets those copper pans looking like new.
2. Polish Stainless Steel
This might surprise you but applying dry flour to a washcloth and rubbing stainless steel leaves a remarkable shine. Use it on pots and pans but don’t skip the refrigerator, dishwasher and the stove -especially the stove top. You might need to wipe up any residual flour with a damp washcloth or use a vacuum hose.
3. Keeps Canning Jar Lids Easier to Open
A light dusting of flour on the ridges and rims of can jars will preserve the seal but make them easier to open.
4. Keep the Ants Away
Ants don’t like flour. It has a similar effect as diatomaceous earth. Both clog the pores the ants use to breath. The common recommendation is a line of flour around whatever you want to protect from the ants. It could be plants in the garden, potted plants, or anywhere you see ants. It can be a bit of mess depending on where you use it, but supposedly it works.
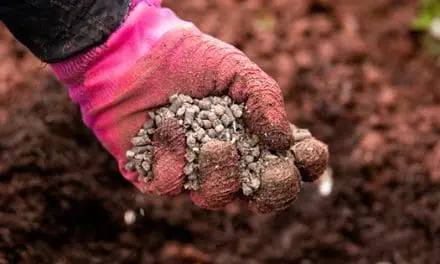
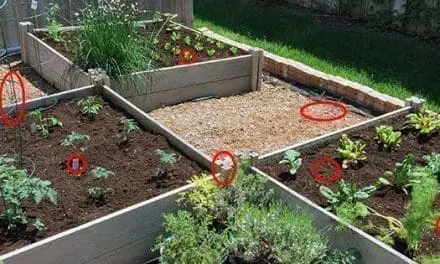
5. Homemade Pest Deterrent Blocks
Flour can be used to create simple, effective pest deterrent blocks for the garden or around the homestead. By mixing flour with water—and optionally a little sugar or ground spices—you can form small blocks that attract insects like ants or slugs away from your valuable plants, then trap or distract them safely.
To make the blocks, mix flour and water into a thick, moldable dough. You can add natural deterrents like cayenne, cinnamon, or garlic powder for extra protection. Shape the mixture into small blocks or discs and place them strategically near vulnerable plants, around seedlings, or near entry points where pests appear.
As the blocks dry, they harden just enough to stay in place, gradually releasing scents that deter unwanted visitors while being non-toxic and safe for pets, birds, and beneficial insects. This method is a clever, low-cost way to protect your garden without chemicals and shows how versatile flour can be beyond cooking.
6. Clay
It’s easy to make clay from flour. All you do is combine flour, water, salt and some vegetable oil. Here’s the recipe: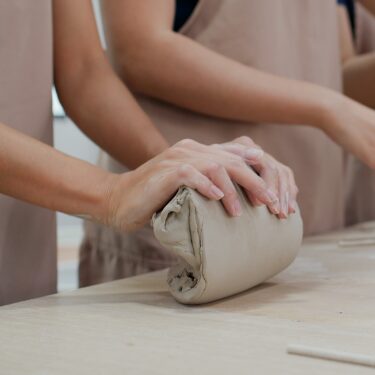
Ingredients:
- 2 cups of all-purpose flour
- 1 cup of salt
- 2 tablespoons of vegetable oil
- ¾ to 1 cup of water
- Food coloring (optional but makes the clay more fun)
Directions:
- Mix the dry ingredients in a bowl and mix well to totally combine the salt and the flour.
- Add the oil to the dry ingredients but don’t mix yet
- Slowly add the water and then reach your hand in and start to knead the dough. Continue to add water until it starts to feel like clay. But you’re not done yet.
- Transfer the clay to a floured surface and continue to knead until the dough is smooth and pliable (if you want you can do all of this in a Mixmaster)
- Now it’s time to color the clay. You can make it all one color, or you can break it into pieces for different colors. Just add a few drops of food coloring to the clay and knead it again until the color is evenly distributed. (It may also be a good idea to wear gloves while your adding the food coloring)
- Store in a resealable plastic bag or a plastic container with a lid.
If you want step-by-step instructions for making sturdy clay pots home or when out in the wild, along with dozens of other essential survival skills, check out the Wilderness Survival Guide. It’s packed with practical techniques that every homesteader or outdoor adventurer should know.
7. Dough for Seedling Pots
You can make small, biodegradable pots for starting seeds using nothing more than flour, water, and a pinch of salt. The process is simple but effective, and it gives you a great alternative to plastic seedling trays. Start by mixing the flour and salt in a bowl, then gradually add water until you achieve a thick, pliable dough, similar in texture to modeling clay.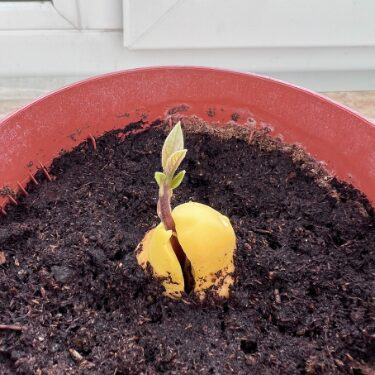
Once the dough is ready, shape it into small cups or cylinders. You can use your hands or press the dough into a muffin tin or other small molds for uniform shapes. Make sure the bottoms are slightly thicker so they can hold soil without collapsing. Let the dough cups air-dry completely; this may take a day or two depending on humidity.
Once dry, fill the pots with soil and plant your seeds as usual. The dough will hold its shape long enough for seedlings to develop strong roots. When it’s time to transplant, you don’t need to remove the seedling from the pot. Simply plant the whole dough cup directly in the garden or a larger container. The dough will gradually break down in the soil, adding a small amount of nutrients as it decomposes.
This method has a few advantages for homesteaders:
- Cost-effective: Uses basic kitchen ingredients you probably already have on hand.
- No transplant shock: Roots aren’t disturbed when moving seedlings to the garden.
- Customizable: You can make pots of any size to suit different seeds, from tiny herbs to larger vegetables.
For an added touch, some gardeners mix a little compost or finely ground eggshells into the dough for extra nutrients. Over time, this simple flour-based technique can help you start hundreds of seedlings without buying commercial pots or worrying about plastic waste.
If you want an easy way to get started, this medicinal garden kit comes with everything you need: seeds, instructions, and sometimes even soil. It’s a hands-on way to grow your own remedies at home, while enjoying the satisfaction of tending your garden from seed to harvest.
Around the House and Garden

There are quite a few things you can do with flour around the house and garden. Here are some quick ideas to think about:
- Homemade Glue. This can work for light projects, especially those involving paper. You just mix flour and water until it has a thick, glue-like consistency. It’s a great glue for school projects when you have to apply photos or pieces of paper to a large display board.
- Fabric Stiffener.If you need stiffened fabric for making row covers, plant supports, or protective wraps, mix flour and water, soak the fabric, and let it dry. It creates a molded, sturdy material that can be shaped for various practical uses around the homestead.
- In the Garden. Flour is actually a great cabbage worm repellent. Apply it to any plants subject to cabbage moths like lettuce, spinach, kale and even broccoli leaves and cabbage leaves. It’s 100% natural and many bugs hate the stuff. You’ll have to reapply after a rain or watering, but it works.
It’s a Natural Solution to a Lot of Things
The great thing about exploring alternative uses for flour is that it’s 100% natural and safe. We eat the stuff all the time and while it can be a bit of a mess, that’s easy to deal with particularly when you consider it’s free of chemicals and will not cause harm to children, animals or anyone else.
You may also like:
How to Make Long-Lasting Flour from Wild Grains, Seeds, Nuts and Bark
How To Make Wild Bread With Dandelions (Video)
Common Plants You Can Turn Into Flour in a Crisis
Add This to Your Pantry to Keep Pests Away This Winter
Best Hand Grain Mills You Can Buy


