Starting a garden doesn’t begin in the soil—it begins with a seed. And knowing how to germinate seeds properly is one of the most vital, yet often overlooked, steps in building a successful and sustainable garden.
Whether you’re looking to grow your own vegetables, herbs, or medicinal plants, seed germination is the foundation of a productive homestead. The good news? You don’t need expensive equipment or commercial products to do it right. Just some basic know-how, a bit of patience, and a few household materials.
Let’s walk through how to germinate seeds at home using tried-and-true methods that have worked for generations.
What Is Seed Germination?
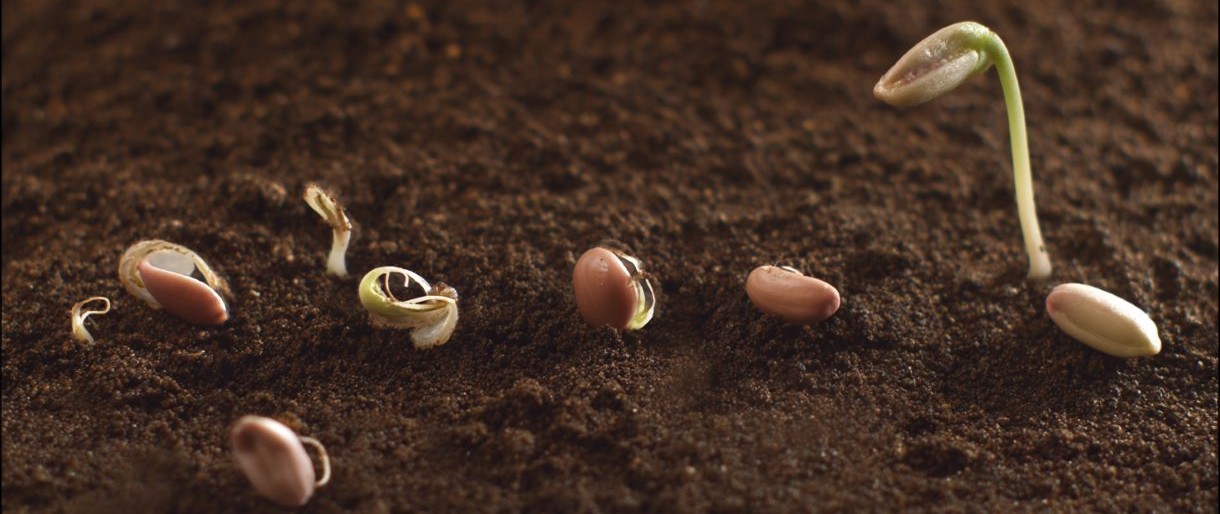
Seed germination is the process by which a seed sprouts into a young plant, or seedling. It’s triggered when the seed senses the right conditions—usually a mix of warmth, moisture, and oxygen. Once those signals are received, the seed coat softens, and a root (radicle) pushes through, followed by a shoot (plumule) reaching for the surface.
Each seed carries the genetic blueprint of its plant. But without proper germination conditions, it stays dormant. Learning how to nudge it into life gives you a head start on the growing season and more control over your food and medicine supply.
Germination is the critical turning point from storage to life. A seed might remain viable for months—or even years—under proper storage, but once it germinates, it’s on a fast track to becoming a plant that requires care, nutrients, and light. Understanding this transition helps ensure you’re ready to support it through the next stages.
This knowledge also puts you in control of timing. By starting your own seeds, you’re not at the mercy of store-bought seedlings or nursery schedules. You can align your planting calendar to your microclimate, your space, and your food security goals.
Why Germinate Seeds Yourself?
Germinating your own seeds gives you several advantages:
- Higher Success Rates – Starting seeds in a controlled environment helps ensure stronger, more resilient plants.
- Earlier Start to the Season – Get ahead of late frosts by starting indoors.
- Cost Efficiency – A packet of seeds can yield dozens of plants for pennies each.
- Self-Reliance – You control the source, quality, and sustainability of your plants.
Plus, watching a seed come to life under your care is a deeply satisfying experience—one that builds both confidence and connection to your land.
It also lets you experiment with heirloom and rare varieties that you can’t always find at garden centers. These plants often carry stronger genetics, richer flavors, and better adaptability to organic systems. Growing from seed ensures you’re not limited by what’s on the shelf.
More importantly, germinating your own seeds builds independence. In a world where supply chains can falter and store shelves can empty, knowing how to propagate your own plants ensures your garden isn’t vulnerable to outside disruptions.
The Basic Requirements for Germination
All seeds, no matter what you’re growing, need the following to germinate:
- Moisture – Water activates enzymes within the seed and softens the seed coat.
- Warmth – Most garden seeds germinate best between 65°F and 75°F (18°C–24°C).
- Oxygen – Seeds breathe, and poor aeration can suffocate them.
- Light (sometimes) – Some seeds, like lettuce, need light to germinate, while others like beans prefer darkness.
Understanding your specific plant’s needs helps tailor the environment for germination success.
For example, certain medicinal herbs or native plants may require a period of cold stratification (imitating winter) before they’ll sprout. Others may benefit from scarification, where the seed coat is gently nicked to help water penetrate. This kind of plant-specific prep ensures germination happens efficiently.
Also keep in mind that germination rates decrease with age. Even in ideal conditions, a 5-year-old seed may only have a 50% chance of sprouting. Knowing the approximate shelf life of your seeds allows you to adjust expectations—or double your planting amount to compensate.
Common Methods to Germinate Seeds
Here are three reliable, easy-to-do methods for germinating seeds at home:
 1. Paper Towel Method
 1. Paper Towel Method
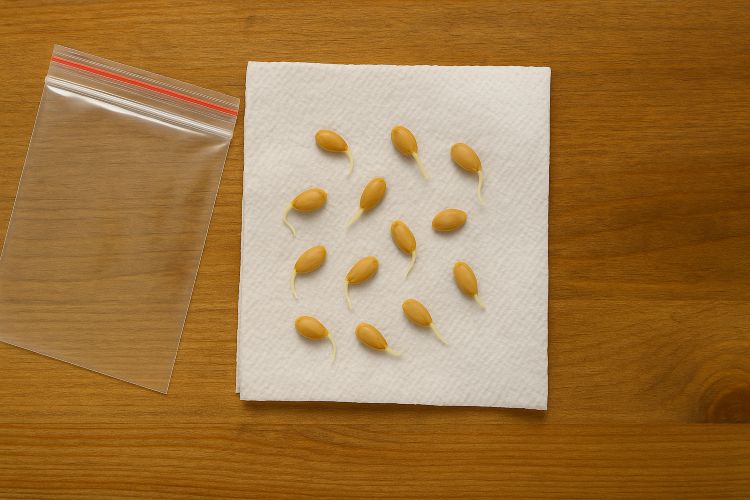
This method is great for beginners and lets you observe the germination process closely.
- Dampen a paper towel and place seeds on one half.
- Fold it over and slide it into a plastic bag or container.
- Keep it in a warm place (top of the fridge or a sunny windowsill works well).
- Check daily and mist with water if needed.
Once sprouts appear, transplant carefully into soil.
This method is ideal for testing seed viability, especially if you’re working with older seeds. You can quickly assess how many seeds will sprout and adjust your planting plan accordingly. It’s also a space-saver if you’re working in a small kitchen or homestead cabin.
The only downside is that seedlings must be transplanted carefully, as their roots are fragile and can be damaged easily. Use tweezers or the edge of a spoon to lift them gently and nestle them into moist soil in pots or trays.
 2. Seed Starting Trays or Pots
 2. Seed Starting Trays or Pots
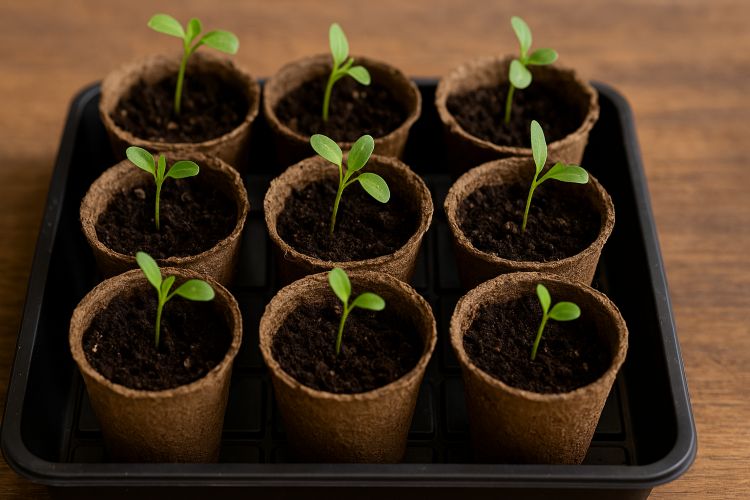
A more traditional method that allows for direct sowing into a growing medium.
- Use small trays or containers filled with a seed-starting mix (not garden soil).
- Moisten the mix before planting.
- Sow seeds according to their depth requirements (usually listed on seed packets).
- Cover and keep warm using a dome or plastic wrap until sprouting begins.
This method is excellent for transplanting straight into your garden or greenhouse later.
A key benefit of using seed trays is that it allows you to grow many seedlings in a compact, organized space. You can also label each row clearly to keep track of different varieties and planting dates. This is especially useful when succession planting.
Using a high-quality seed-starting mix is critical here—it’s lighter and retains moisture better than typical potting soil. Avoid compacted soil or compost at this stage, which can smother delicate seedlings or cause damp-off disease.
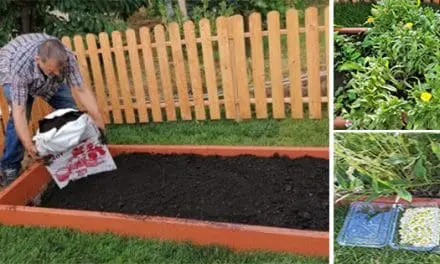
3. Direct Soil Germination (for resilient seeds)
 3. Direct Soil Germination (for resilient seeds)
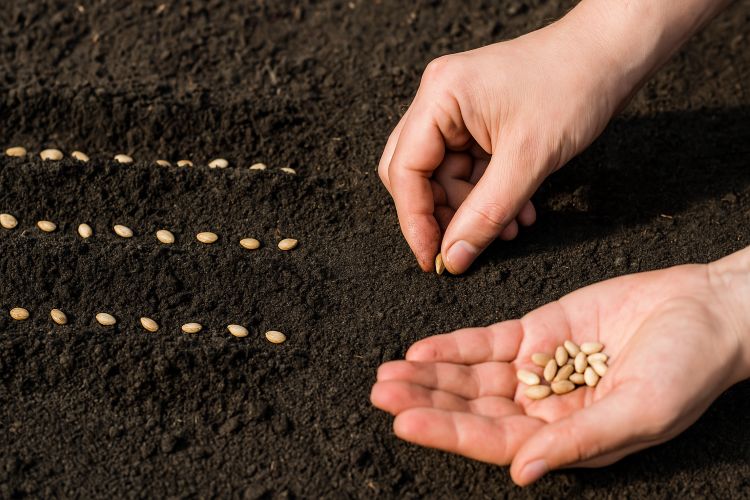
Some seeds, especially large or fast-growing types like squash and beans, germinate well when sown directly into soil—indoors or outdoors.
- Use small biodegradable pots or compostable cups filled with soil mix.
- Plant and water lightly.
- Cover to retain moisture until germination, then remove the cover to prevent mold.
This method saves time and minimizes transplant shock.
Direct soil germination is also a great choice when you’re short on indoor space or grow lights. If your climate allows for it, you can sow these hardy seeds directly into outdoor beds once the frost has passed and the soil has warmed.
For indoor starts, using biodegradable pots lets you transplant the whole pot into your garden, avoiding root disturbance altogether. This is particularly helpful for crops like cucumbers or melons that don’t enjoy being transplanted.
Tips for Success
- Soak tough seeds (like peas or sunflowers) for 6–12 hours before planting to soften the shell.
- Label your trays to keep track of plant varieties.
- Bottom heat (like a seedling heat mat) can help with uniform germination.
- Avoid overwatering—damp, not soaked is the rule.
- Once sprouted, move seedlings to a light source (south-facing window or grow lights) to prevent them from becoming leggy.
In addition, make sure your growing space is protected from sudden drafts or extreme fluctuations in temperature. A sudden cold snap can stall or reverse the germination process, even if conditions seemed perfect just the day before.
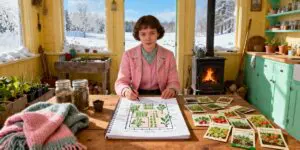
It’s also a good idea to track your germination results in a garden journal. Over time, you’ll build a personal record of what works best for your seeds, your climate, and your growing style—turning each season into a lesson for the next.
Common Germination Problems and How to Fix Them
- Mold on soil or paper towels – Caused by excess moisture or poor airflow. Use a lid with ventilation or uncover briefly each day.
- Seeds not sprouting – Check seed viability (older seeds may be dead), temperature, and moisture levels.
- Leggy seedlings – Usually a light problem. Move them to a brighter area immediately.
If you suspect your seeds aren’t viable, perform a germination test. Take 10 seeds, place them in a damp paper towel, and track how many sprout over 7–10 days. This gives you a rough percentage and helps you decide how many seeds to sow.
When it comes to leggy seedlings, stronger light isn’t just the fix—it’s the prevention. Many new growers underestimate how much light young seedlings need. If a windowsill isn’t bright enough for 8+ hours per day, supplemental grow lights can make all the difference.
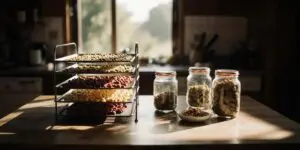
Storing and Saving Seeds for Next Season
 Storing and Saving Seeds for Next Season
Part of self-sufficiency is building your own seed bank. Once you’ve mastered germination, consider learning how to collect, dry, and store seeds from your healthiest plants. Keep them in labeled, airtight containers in a cool, dry place. This not only saves money but builds a personal supply that fits your climate and soil perfectly.
Harvesting seeds from your own plants ensures you’re selecting varieties that are already adapted to your land. Over time, this leads to stronger, more productive crops that require less intervention and offer more reliable yields.
When storing seeds long-term, glass jars or sealed envelopes in a root cellar, closet, or basement work well. Include a small packet of dry rice or silica gel to absorb any moisture. And always label your seeds clearly with variety and year—future you will thank you.
Final Thoughts
Learning how to germinate seeds is a low-cost, high-impact skill that empowers you to take charge of your food, medicine, and independence. It reconnects you with the natural cycles of the land and prepares you for seasons ahead, no matter what the world throws at you.
And perhaps most importantly, it’s a reminder that everything starts small. Even the biggest harvest begins with one seed and the care of the gardener who dares to plant it. Whether you’re growing for nourishment, healing, or security—germination is where your path to self-sufficiency truly begins.
You may also like:
How to Grow Tomatoes from a Single Slice
The Easiest Way To Tell Apart Edible Plants and Their Poisonous Lookalikes (Video)
10 Medicinal Seeds You Should Start This Winter


