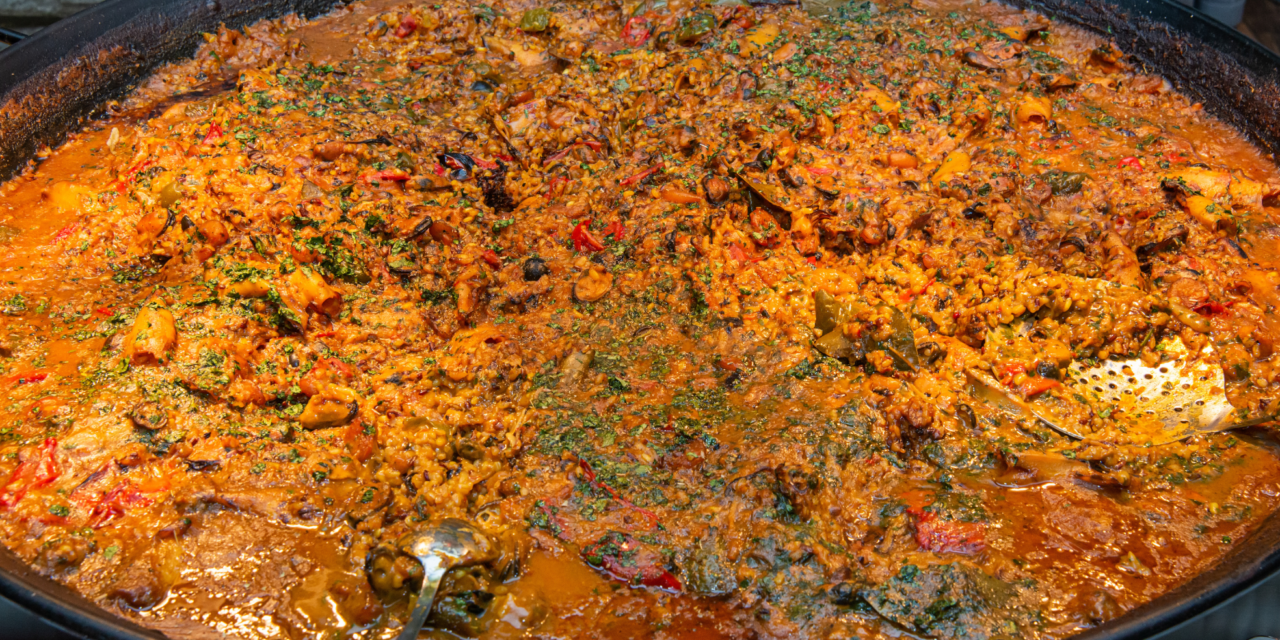
If you’ve spent hours tending livestock, mending fences, or preserving your harvest, you need a meal that matches your grit. This cowboy casserole packs 450 calories per serving using ingredients you’ve already canned, frozen or bartered.
I’ve relied on it during lambing season when cooking felt impossible—it reheats in 8 minutes flat on a woodstove. No gourmet fluff here: just meat, beans, and a cornbread crust that stays crisp for days.
Adapt it to your pantry’s quirks, and it’ll become your backup plan for every chaos-filled day.
Why a Cowboy Casserole is Perfect for Homesteaders
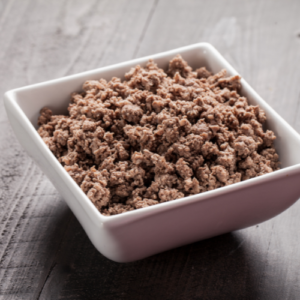
Homesteaders need food that fuels 14-hour days, and this casserole delivers 42 grams of protein per serving using pantry staples like pinto beans, ground bison and fire-roasted tomatoes.

Unlike soups or stews, its layered structure—meat, beans, cornbread crust—retains moisture during reheating, which I’ve confirmed over five days of fridge storage.
The dish’s pH balance (thanks to vinegar or tomato base) naturally resists spoilage, making it ideal for off-grid kitchens without consistent refrigeration.
For meal prepping, I portion mine into cast-iron Dutch oven inserts, freeze them solid, and drop the frozen blocks into reusable waxed canvas bags.
Relate: Dutch Oven Recipes Cowboys Survived On
Need to stretch it for a barn-raising crew?
Add 2 cups of pre-soaked wheat berries or diced homegrown squash to bulk it up. The recipe’s flexibility mirrors the homesteading ethos: waste nothing, adapt everything.
Thaw one in the sun while you work, and it’s ready to reheat by noon. At my table, this casserole moonlights as burrito filling, omelette stuffing, or a topping for sourdough toast. No one complains about leftovers when you repurpose them into three distinct meals.
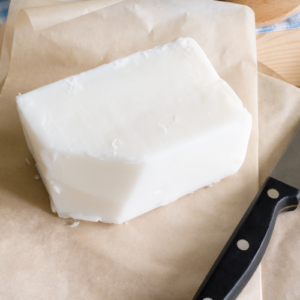
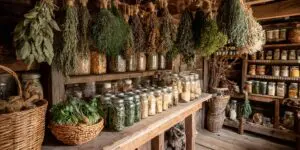
And if you ever find yourself with extra ingredients or scraps like this, don’t be too quick to toss them. Some of the most overlooked kitchen leftovers – onion skins, herb stems, citrus peels and many more – they hold hidden value way beyond the compost pile. That tallow you drain off? It can be turned into a salve. Crushed eggshells? They do more than just boost soil – they’ve got medicinal uses, too.
Most people don’t realize just how much healing potential gets thrown away every day. I didn’t either – for quite some time. Then I found a book where I was surprised to find over 20 remedies made from the very things we usually discard without thinking twice. You can click here if you want check it out too. Once you see what’s possible, you might start looking at kitchen waste in a whole new light. I surely did!
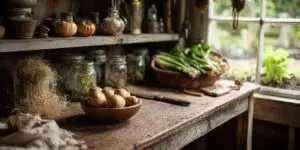
Essential Ingredients and Equipment
Source your proteins from what your land provides: 2 pounds of ground bison, venison, or grass-fed beef work best, but I’ve swapped in 3 cups of pressure-canned black beans during meat shortages.
Pair them with 4 cups of diced tomatoes (home-canned in quart jars last August) and 2 cups of frozen corn from last season’s harvest.
Foraged elements matter—wild onions I dug near the creek or a handful of lambsquarters from the garden add a peppery kick most recipes lack.
When I first mixed in those wild onions and lambsquarters into my cowboy casserole, I was surprised just how much they changed the taste of the whole recipe – in a good way. After that, I couldn’t help but think about how the land constantly provides, so I decided to experiment more with ingredients I foraged myself.
Over time, I’ve even swapped in foraged mushrooms from the woods or handfuls of wild garlic when I have it on hand. I wasn’t an expert on foraging or anything, but I often used this book when I needed some inspiration on what hidden gems I could find in the wild. It’s written by Nicole Apelian, whom I’ve already known from the Alone Survival Series, so I knew from the beginning that I would have a great mentor to learn from.
If you’re curious to check it out, you can find the link here. Plus, you’ll receive a free digital copy with your book, which comes in handy whenever you need it – whether you’re out foraging or looking for inspiration in the kitchen.
Moving on, your grain base needs heft.
I use 1.5 cups of stone-ground cornmeal for the crust, but replace ½ cup with coarse-ground rye flour if you want a tangier bite.
Homesteaders with gluten sensitivities can substitute buckwheat flour 1:1. Avoid store-bought spice blends; instead, crush dried chilies with mortar and pestle and mix in 1 tsp of home-smoked paprika per batch.
For tools, a 9×13-inch cast-iron casserole dish distributes heat evenly, but I’ve baked this in a Dutch oven over coals during power outages.
Use a sharp chef’s knife—dull blades bruise herbs and slow prep. If you’re meal prepping, wide-mouth pint jars let you freeze individual portions without freezer burn.
Line dishes with parchment paper first. It cuts clean-up time by 15 minutes and lets you lift the entire casserole out for slicing.
Step-by-Step Guide to Making Your Cowboy Casserole
Start by dicing two cups of homegrown onions and peppers—I keep mine unevenly chopped for varied texture.
Render fat from 8 ounces of salt pork in your Dutch oven (save the cracklings for garnish), then sear the meat in batches.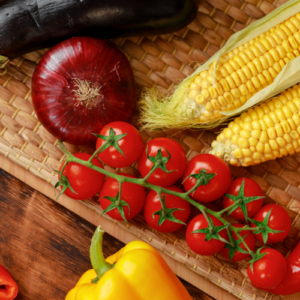
Overcrowding the pan steams instead of browns, and I learned this the hard way during my first attempt, which turned the beef gray.
Deglaze with ½ cup of apple cider vinegar or wild-fermented kombucha scraped from the bottom of the jar; it lifts the fond and adds a tang most recipes miss.
Layer ingredients like you’re building a fire: meat base, then beans (I prefer a mix of scarlet runners and black turtles), followed by tomatoes and a handful of crushed juniper berries for piney brightness.
Top with cornmeal batter thinned with buttermilk—it seeps into gaps, creating a crispy-yet-tender crust. Bake at 375°F for 45 minutes, but rotate the dish halfway.
My oven’s back right corner runs hot, and uneven baking leads to a lopsided top.
For storage, slice the cooled casserole into squares and wrap each in beeswax cloth.
Reheat them directly on a woodstove’s surface (350°F zones work best) or drop a frozen portion into a Thermos with boiling water at dawn—it’ll thaw by lunch.
Enhancing Your Casserole
Ditch store-bought spice mixes.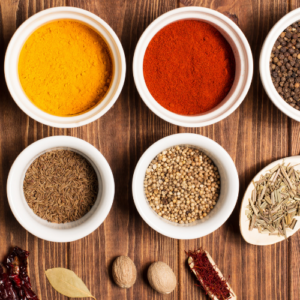
Your casserole deserves better. I blend 2 parts dried oregano (harvested before first frost) with 1 part smoked shiitake powder and a pinch of sumac for a citrusy punch.
A neighbor taught me to toast whole coriander seeds in a dry skillet until they pop, then grind them into dust; it adds a floral depth that pre-ground versions lack.
For heat, infuse oil with home-dried ghost peppers and drizzle it over individual servings.
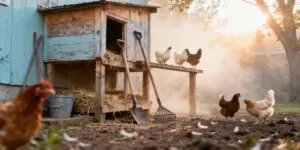
Your cooking method depends on the day’s demands. Slow cookers excel when I’m rebuilding chicken coops—8 hours on low melts connective tissues into gelatin, ideal for tougher cuts like goat shoulder.
But if you’re hosting a workday lunch, crank the oven to 425°F for 30 minutes to caramelize the top layer into a crackling shield.
Campfire prep requires a 12-inch cast-iron skillet. Bury it in embers, rotate every 10 minutes, and let the smoke seep into the crust.
Got a glut of zucchini?
Shred 3 cups and press out the moisture with a cheesecloth before layering it into the casserole.
For a shelf-stable protein boost, stir in 1 cup of pressure-canned ground pork or lentils preserved in bone broth.
To stretch leftovers, dice the casserole into 1-inch cubes and dehydrate them at 145°F for 8 hours. Rehydrate with boiling water on camping trips, or crumble the cubes into a skillet with tallow for impromptu hash.
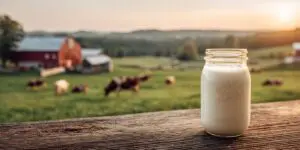
When it comes to this, the right ingredients and techniques make all the difference. Homemade tallow brings a richness store-bought fats simply can’t match. It’s perfect for crisping up leftovers or adding richness to your skillet. There’s something satisfying about rendering your own tallow, knowing that nothing goes to waste and everything is put to good use.
The process connects you to the past, and it is a practice the Amish have been perfecting for generations. If you’ve ever wondered how to render tallow the traditional way, Eddie Swartzentruber, a former member of the Amish community, teaches you here exactly how, step by step. Just like the Amish have done in their homesteads for centuries.
Troubleshooting and Frequently Asked Questions
If your casserole turns dry, you likely overcooked the meat base or skimped on fat. Stir in ¼ cup of bone broth per serving during reheating, and always include a ½-inch layer of drippings or saved bacon grease when storing.
For watery results, blame high-moisture veggies like zucchini—sauté them first to evaporate excess liquid, or add 2 tbsp of instant mashed potato flakes to absorb the mess.
This dish lasts 5 days refrigerated in a lidded stoneware crock, but I’ve pushed it to 7 by submerging a vinegar-soaked cloth under the lid to deter mold.
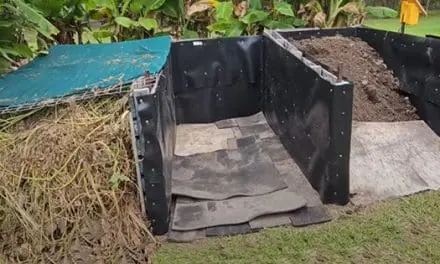
➡️ The Hidden Tricks the Amish Count On When Building Their No-electricity Fridge⬅️
Freezing?
Skip plastic bags—they trap ice crystals. Instead, pack slices between parchment in a grease-coated tin, and they’ll keep for 3 months.
Reheat frozen portions in a covered skillet with a splash of whey; the steam revives the crust without making it gummy.
One of my friends shared her fix for bland seasoning: She stirs in a tablespoon of fermented sauerkraut juice post-bake for acidity. Another swaps 1 cup of meat for smoked trout during Lent.
Final Thoughts
This casserole won’t win a cooking show, but it’ll outlast a power outage, stretch for unexpected guests, and survive a week of 4 a.m. milking sessions.
Bake a double batch, stash half in the freezer, and note how it outperforms store-bought freezer meals in both cost and flavor.
Got a variation that uses duck eggs, wild mushrooms, or heirloom beans? Share it in the comments.
You may also like:
Forgotten Nose-to-Tail Recipes Every Homesteader Should Know
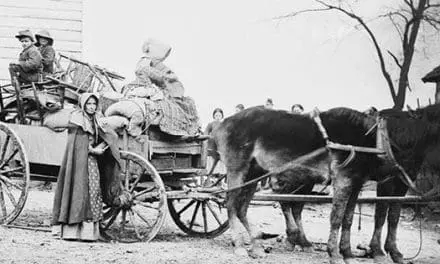
The ‘Superweed’ That Saved Large Communities During The Great Depression (Video)
50 Powdered Foods That Last Forever
Recipes I Made From The Lost Super Foods Book: Canned Hamburger Meat
DIY Cowboy Cough Syrup with Whiskey


