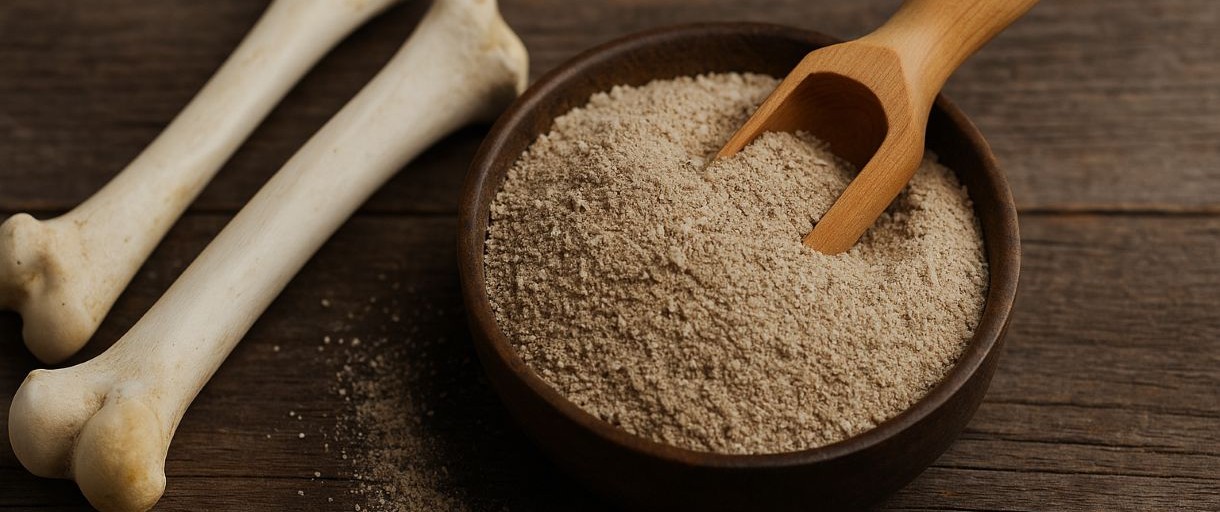
When it comes to organic gardening, the answer to stronger roots, bigger blooms, and healthier harvests might be hiding in something you’d normally toss away — bones. Yes, actual bones. Ground into a fine powder, bone meal fertilizer is one of the most time-tested and nutrient-rich amendments you can add to your garden soil.
Let’s break down what it is, how to make it, and why your plants will thank you.
Bone meal isn’t just for traditional gardeners either. It’s gaining popularity with homesteaders, permaculturists, and even urban growers looking to enrich container soil naturally. With growing concerns over synthetic fertilizers and their environmental toll, bone meal provides a zero-waste, organic alternative that supports long-term soil health.
Using bone meal also closes a sustainability loop. Whether you process your own livestock or just save bones from your kitchen scraps, turning waste into productive fertilizer is a core principle of self-sufficient living. It means fewer store trips and more independence for your garden.
What Is Bone Meal Fertilizer?
Bone meal is exactly what it sounds like: a powdered form of animal bones, typically from cows, that are cleaned, boiled or steamed, and finely ground. It’s rich in phosphorus and calcium, two essential nutrients for plant growth, especially for root development, fruiting, and flowering.
Typical N-P-K values for bone meal range from 3-15-0 to 2-14-0, meaning it contains a small amount of nitrogen, a high dose of phosphorus, and little to no potassium.
Because it’s slow-releasing, bone meal offers ongoing nutrition rather than a quick burst. That means healthier plants with less risk of “burning” roots, which can happen with synthetic fertilizers. It gives your soil time to absorb and distribute nutrients gradually.
Its calcium content also plays a crucial role in strengthening cell walls and preventing common plant issues like blossom end rot, especially in tomatoes, squash, and peppers. When used consistently, it supports a balanced soil ecosystem that nourishes plants throughout the season.
Why Use Bone Meal Fertilizer?
Whether you’re growing vegetables, fruit trees, or flowering plants, bone meal gives you a slow-release source of phosphorus — the kind that doesn’t wash away with the first rainfall. Here’s what it can do:
- Boost root development: Especially helpful for transplants and root vegetables.
- Encourage stronger flowering and fruiting: Phosphorus supports bud formation and bloom strength.
- Improve soil health: As it breaks down, it supports beneficial microbial activity in the soil.
- Correct calcium deficiencies: Prevents issues like blossom end rot in tomatoes and peppers.
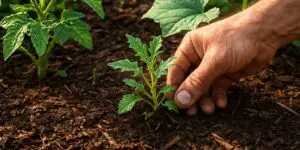
Bone meal is particularly useful during the early growth stages of plants, when roots are establishing and need strong structural support. Adding it to your soil early in the season gives young plants a head start, setting the tone for a productive yield.
Even if you already use compost, bone meal adds a critical nutrient layer that compost often lacks. Together, they form a powerhouse combo that feeds plants from top to root without disrupting natural soil balance.
How to Use Bone Meal Fertilizer in Your Garden
1. Mix It Into the Soil
Bone meal needs contact with soil microbes and moisture to break down, so don’t just sprinkle it on top. Mix it into the soil before planting or scratch it in around the base of established plants.
2. Use It During Transplanting
Add a tablespoon to each hole when planting seedlings. It helps ease transplant shock and promotes quicker root establishment.
3. Feed Bulbs and Flowers
Sprinkle bone meal in the fall when planting bulbs, or in early spring for perennials like roses and fruit trees.
4. Combine It With Other Organic Inputs
Bone meal pairs well with compost, blood meal (for nitrogen), or wood ash (for potassium) to create a balanced soil amendment.
If you’re growing in raised beds or containers, mix bone meal thoroughly into the soil before planting. Container gardens dry out and deplete faster, so slow-release nutrients like bone meal offer a reliable buffer.
Also, keep in mind that application rates matter. A little goes a long way. Too much bone meal can disrupt phosphorus balance, so always measure according to your garden’s needs and the plant type.
How to Make Your Own Bone Meal at Home
If you butcher animals, make homemade broth, or just want to use every part of your food, you can make bone meal fertilizer yourself:
You’ll Need:
- Animal bones (chicken, beef, or pork)
- A large pot or pressure cooker
- Baking sheet
- Oven or dehydrator
- Blender or food processor
Steps:
- Clean and boil the bones to remove fat and meat.
- Bake at low heat (around 300°F/150°C) until they’re dry and brittle.
- Grind into a powder using a blender or grinder. Store in a sealed jar.
Grinding the bones fine enough is the key — the finer the powder, the faster it breaks down in soil. A food processor, high-power blender, or even a grain mill can help you achieve the right texture.
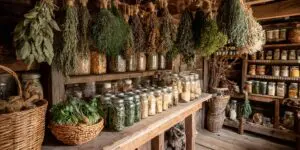
Homemade bone meal stores well in a cool, dry place for several months. Label the jar and keep it sealed to prevent moisture from clumping the powder. With a steady supply, you’ll never need to buy bagged phosphorus again.
Recommended Organic Bone Meal Fertilizer

If you’re looking for a trusted product to start with and you do not want to make your own bone meal fertilizer, Espoma Organic Bone Meal is a top choice. It’s all-natural, OMRI-listed for organic gardening, and contains a balanced 4-12-0 NPK ratio. That means you’re getting a solid boost of phosphorus for root growth and flower development, along with a mild nitrogen kick for leafy health.
What sets this product apart is its consistency and ease of use. The granules are finely milled, making them easy to mix into soil without clumping. It also has a slower breakdown rate, providing steady nutrition over time. Whether you’re planting bulbs, veggies, or fruit trees, Espoma delivers reliable results without synthetic fillers — making it ideal for any self-sufficient gardener.
Is Bone Meal Safe?
Bone meal is safe for plants, but keep it out of reach of pets — dogs in particular may be tempted by the smell, and ingestion can cause health issues. For peace of mind, mix it well into the soil or use a bone meal alternative if you have curious animals around.
Always wear gloves and a dust mask when handling bone meal to avoid inhaling fine particles. It’s not toxic, but repeated exposure can irritate sensitive lungs or skin.
Also, if you’re purchasing commercially made bone meal, look for organic-certified products to ensure the bones were sourced and processed cleanly, without chemical additives or residues.
When Not to Use Bone Meal
- In alkaline soils (pH above 7.0), phosphorus from bone meal becomes locked up and unavailable to plants.
- In excess — too much can throw off your soil balance and harm roots. Use it sparingly and test your soil yearly.
If your soil already has high phosphorus levels, adding bone meal can do more harm than good. Too much phosphorus can limit the uptake of other critical nutrients like iron or zinc.
Testing your soil every year helps you understand what’s lacking — or what’s already abundant. Bone meal is most useful when used with intention, not habit.
Final Thoughts
Bone meal fertilizer is one of those quiet power tools of self-sufficient gardening. It’s not flashy. It doesn’t come in neon-colored bags. But it works — reliably, naturally, and without draining your budget.
If you’re growing your own food, raising animals, or simply want to get the most out of every scrap, bone meal deserves a spot in your garden shed. It’s old-school, effective, and sustainable — the kind of solution homesteaders have trusted for generations.
Using bone meal supports not just your plants, but your mindset — one that values resilience, resourcefulness, and zero waste. It’s a small shift with a big return for any grower committed to self-reliance.
You may also like:
If You See This Plant in Your Backyard, Burn It Immediately! (Video)
13 Homemade Fertilizers For Your Plants
Can You Do Electroculture in a Greenhouse?
Vermicomposting: A Simple Way to Turn Scraps Into Black Gold


