When it comes to preparing for emergencies or natural disasters, having a reliable water supply is essential. But what if your usual sources of clean water are compromised? That’s where the idea of canning water comes in. Yes, you heard that right – canning water! It may sound unusual at first, but it’s actually a practical and effective way to ensure you have access to safe drinking water when you need it most.
Canning water involves the process of sterilizing and sealing water in jars or containers to ensure its long-term preservation. It may seem unconventional since we’re used to canning fruits, vegetables, and other food items, but the same principles apply when it comes to preserving H2O.
In this blog post, we’ll explore the process of canning water step by step and discuss some common mistakes to avoid.
Is It Possible To Can Water?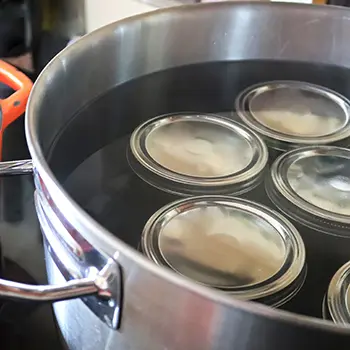
During emergencies or natural disasters, access to clean drinking water can become limited or even non-existent. That’s where the concept of canning water comes into play.
But is it really possible to can water?
One of the main reasons people choose to can their own water is for emergency preparedness. By having canned water on hand, you’re able to be self-sufficient during times when tap water may not be safe for consumption. Whether it’s due to contamination from natural disasters like floods or simply as part of your disaster preparedness plan, canned water provides peace of mind knowing you have a reliable source of hydration when needed.
How To Do It
The process itself is relatively straightforward. First, gather clean glass jars with tight-fitting lids or use specialized containers designed specifically for canning liquids. Ensure they are thoroughly washed and sanitized before use. Next, bring your desired amount of potable (drinkable) water to a rolling boil for at least one minute – this kills any bacteria present in the liquid.
Once boiled, carefully pour the hot water into each jar while leaving about half an inch of headspace at the top. Wipe down the jar rims with a clean cloth dampened with white vinegar or lemon juice – this helps remove any residue that could interfere with proper sealing later on. Place sterile lids on top and screw them firmly but not overly tight onto each jar.
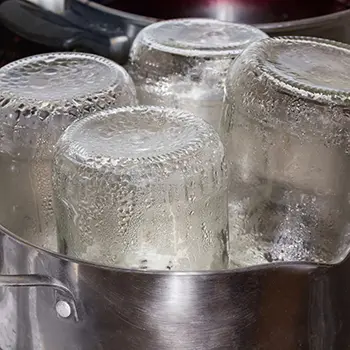
Immerse all filled jars in a boiling hot water bath using tongs; ensure there’s enough room between them so they don’t touch each other or the sides of the pot. Boil for an additional 10-15 minutes. After the time is up, remove jars from the water bath and place them on a towel to cool. As they cool, the lids will “pop,” indicating they’ve been successfully sealed.
And that’s it! Your canned water is now ready for storage!
Mistakes to Avoid
One common mistake is failing to properly sanitize the canning jars before use. It’s essential to thoroughly clean and sterilize the jars using hot, soapy water or by running them through a dishwasher cycle. This step helps eliminate any bacteria or contaminants that could affect the quality of your stored water.
Another big mistake is not using the correct type of jar lids. Regular metal lids are not suitable for long-term water storage as they can corrode over time and compromise the seal. Instead, opt for specialized sealing lids designed specifically for canning liquids like water. These provide a secure closure and prevent any leakage or contamination.
Neglecting proper labeling and rotation of canned water supplies is a common oversight. Ensure each jar is labeled with its contents and date of sealing for easy identification later on. Additionally, establish a system where older cans are used first while replenishing your stock regularly with freshly canned water.
How Much Water Do You Need To Can For A Disaster?
The answer depends on several factors.
Consider the number of people in your household. The general recommendation is to store at least one gallon of water per person per day. This should be enough for drinking and cooking needs. If you live in a hot climate or have individuals with higher hydration requirements, you may want to increase this amount.
Next, think about the duration of the disaster situation you are preparing for. It’s recommended to have at least a three-day supply of water on hand. However, depending on the nature of the emergency and potential disruptions in access to clean water sources, it might be wise to stock up for longer periods.
Don’t forget about your pets! Make sure to include their daily potable water needs when calculating how much water to store.
How Long Is Canned Water Good For
When properly stored and sealed, canned water has an impressive shelf life. In general, it is recommended to consume canned water within 1-2 years for optimal freshness and taste. However, if kept in cool and dark conditions, some sources suggest that it may remain safe to drink for up to 5 years or even longer.
It’s important to note that although the safety of canned water may diminish over time, it does not necessarily mean that it becomes harmful or toxic after the recommended timeframe. The quality and taste might simply deteriorate due to exposure to light, heat, or oxygen.
To ensure the longevity of your canned water supply, here are a few tips:
- Keep your cans away from direct sunlight and high temperatures as they can accelerate spoilage.
- Regularly inspect your cans for any signs of damage or leakage. Damaged cans should be discarded immediately as they pose contamination risks.
- Rotate your stock. It’s good practice to use older cans first by implementing a first-in-first-out system when replenishing your emergency supplies.
- While there may not be specific expiration dates printed on canned water containers, always keep track of when you initially sealed them so you have an idea of their age.
Remember that while canning provides a viable option for storing drinking water during emergencies, you shouldn’t rely on this as the sole solution for long-term storage needs. It is still advisable to regularly check local guidelines regarding safe consumption practices during emergencies and stay updated with any changes in regulations related to this topic.
Having access to clean drinking water is vital for survival, and by following these guidelines, you can ensure that your canned water supply remains fresh and safe to drink for an extended period.
You may also like:
This Homemade Device Can Power Up Your Entire House 7 Days in a Row (Video)
5 Ingenious Methods To Get FREE WATER In All 50 States During A Crisis

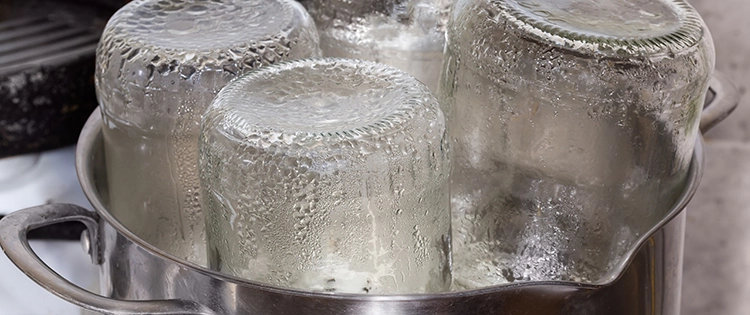
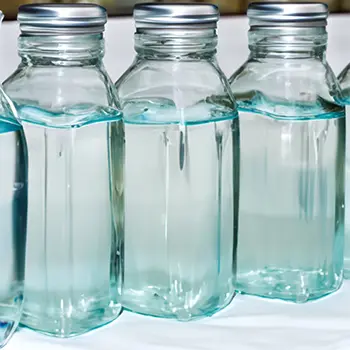


I have a rule of thumb that I follow: empty jars take up the same space as full jars.
Therefore, I can water any time I can, including when canning other stuff and run short of a full pressure canner load. I keep the water separated from the food, and dated just like any other canned item, but that way, I have a constantly dwindling number of empty jars that sit around collecting dust and a growing number of jars that have clean, drinkable water in them in the event that it becomes necessary. Then, if I need the jars, I have them; I can dump the water without any real loss, and put food in them. I can’t do that with jars that already have food in them.