
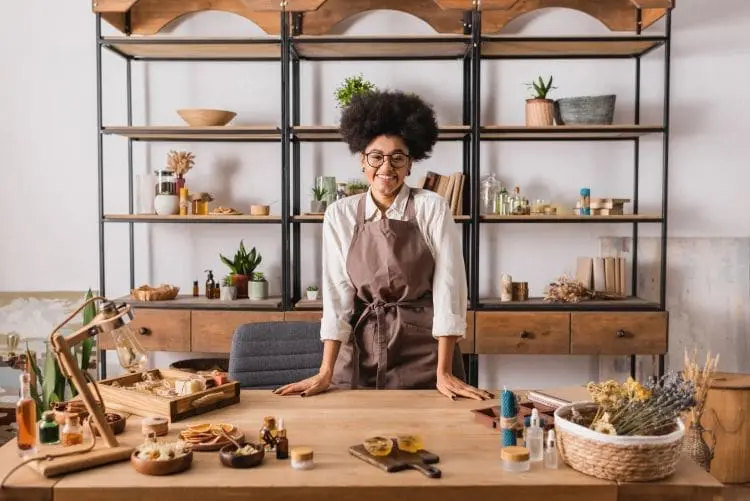
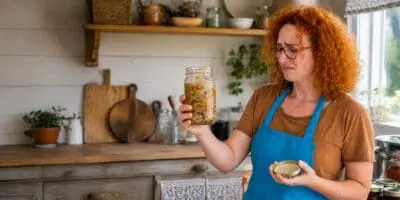
Making your own soap is one of the most rewarding self-sufficiency skills you can learn. Not only do you cut out chemical-laden commercial soaps, but you also gain complete control over every ingredient that touches your skin. Whether you’re prepping for long-term sustainability or just want better skin care, homemade soap is a must-have in any self-reliant household.
There are several ways to make soap, but two of the most popular are the cold process method and the melt and pour technique. Both methods allow you to incorporate natural ingredients like coconut oil, olive oil, and essential oils, helping you avoid artificial fragrances, dyes, and preservatives.
The benefits go beyond skin deep. Homemade soap lets you customize ingredients, avoid irritants, and create a product that reflects your needs and values. You’ll also learn how hot process soap differs from the cold process—an essential consideration as you choose your path.
If you’re just getting started, we recommend beginning with a simple soap recipe, then experimenting with different oils, herbs, and techniques to see what works best for you.
Understanding the Basics of Soap Making
Handmade soap making is grounded in science—specifically, the saponification process. This is the chemical reaction between lye (sodium hydroxide) and fats or oils, which results in soap and glycerin. It may sound intimidating, but with the right knowledge, it’s entirely doable at home. Anyone can make soap at home.
Handling lye safely is critical. It’s a caustic substance, but used correctly, it’s what makes soap… well, soap.
Some terms to familiarize yourself with:
- Soap mixture: The blended lye and oils before saponification completes.
- Soap molds: Containers that shape the final soap. Usually, people use a silicone mold.
- Soap recipe: Your chosen combo of oils, water, and lye.
- Soap Cutter: Optional, just makes it easier to cut the soap into perfect shapes.
Oils play a key role. Coconut oil gives a hard bar and good lather, olive oil offers conditioning, and palm oil (sustainably sourced, please) adds structure. Always use a lye calculator to ensure precise ratios—improper balance can ruin your soap or make it unsafe.
Soap Making Basic Recipe
 If you’re new to natural soap making, start simple. This beginner-friendly cold process recipe creates a gentle, moisturizing bar with minimal fuss.
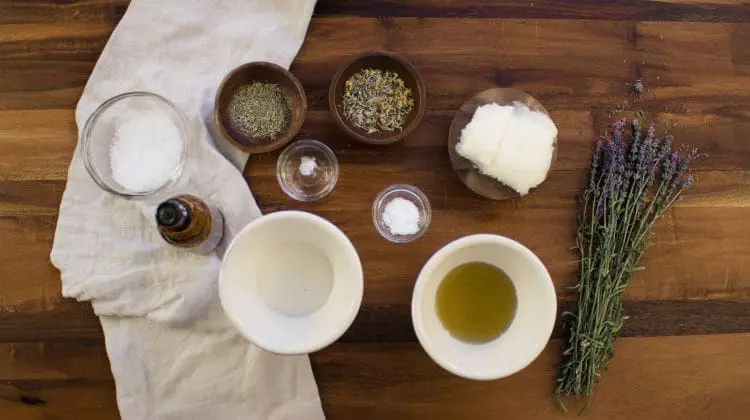
Ingredients:
- 16 oz olive oil
- 8 oz coconut oil
- 4 oz shea butter or castor oil
- 4.6 oz lye (sodium hydroxide)
- 10 oz distilled water
- Optional: 1–2 tsp essential oil (lavender, peppermint, etc.)
- Optional: 1 tbsp dried herbs (chamomile, calendula, etc.)
Instructions:
- Gear up: Gloves, goggles, and ventilation are non-negotiable.
- Mix lye into water (never the other way around). Let cool.
- Melt oils together in a pot until fully combined, then cool to ~100°F.
- Combine lye and oils when both are around the same temperature.
- Use a stick blender to mix until “trace” (pudding-like texture) appears.
- Add essential oils or herbs if using, then pour into a mold.
- Insulate and let rest 24–48 hours. Unmold and cut.
- Cure for 4–6 weeks on a rack in a dry, airy space.
This recipe is a reliable base to experiment with once you’re comfortable. Swap oils, add clay or colorants, and make it your own.
Choosing the Right Soap Making Method
There’s no one-size-fits-all approach to soap making. You’ll need to decide between:
- Cold process soap making: Long curing time, but allows full customization.
- Hot process soap making: Faster, “cooked” method, with a rustic finish.
- Melt and pour soap making: Beginner-friendly—melt a pre-made base and add your own extras.
Cold and hot process methods require more time and equipment but give you full control over ingredients. Melt and pour is great for quick projects or involving kids.
Start where you’re comfortable. Over time, you can experiment and figure out what fits your skills, goals, and available tools. You could make shea butter soap, experiment with countless fragrance oils, and even make goat milk soap.
Safety Precautions and Equipment
Soap making can be perfectly safe when done right. Lye demands respect—always wear gloves, goggles, and work in a well-ventilated area.
You’ll need:
- Digital scale
- Thermometer
- Soap molds
- Stainless steel or heat-safe mixing containers
- Stick blender
Never use aluminum—lye reacts with it. Label all soap making gear and don’t use it for food prep.
Quality tools make for quality results. Take the time to set up properly before you begin. It’s worth it.
Working with Lye Solution
 Lye is powerful, but manageable with care. Add lye to water—never the other way around—to avoid dangerous reactions. Always stir slowly and wear protection.
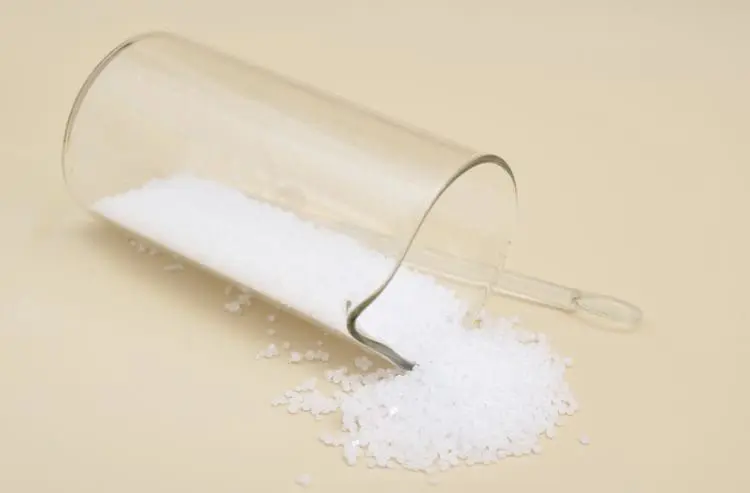
Types of lye:
- Sodium hydroxide (NaOH): For solid soap bars.
- Potassium hydroxide (KOH): For liquid soap.
Use only 100% pure lye, typically sold as drain cleaner (check the label). Keep vinegar nearby to neutralize accidental spills.
Adding Herbs, Liquid Oils, and Essential Oils
This is where the fun begins. Herbs and essential oils transform plain soap into a nourishing, aromatic product.
Popular additions:
- Lavender (calming)
- Peppermint (cooling and energizing)
- Calendula (skin-soothing)
- Tea tree (antibacterial)
You can infuse oils with herbs or mix in dried botanicals directly. Just ensure herbs are completely dry to prevent mold.
How much essential oil to add?
Always use high-quality essential oils for safety and potency. When adding essential oils, a general guideline is to use about 1 to 2 teaspoons (approximately 20 to 40 drops) per pound of soap batter. This amount provides a noticeable fragrance without overwhelming the soap or irritating the skin. Adjust according to the strength of the essential oil and personal preference, but avoid exceeding recommended usage rates to maintain skin safety. The same goes for essential oil blends.
Creating Color and Texture
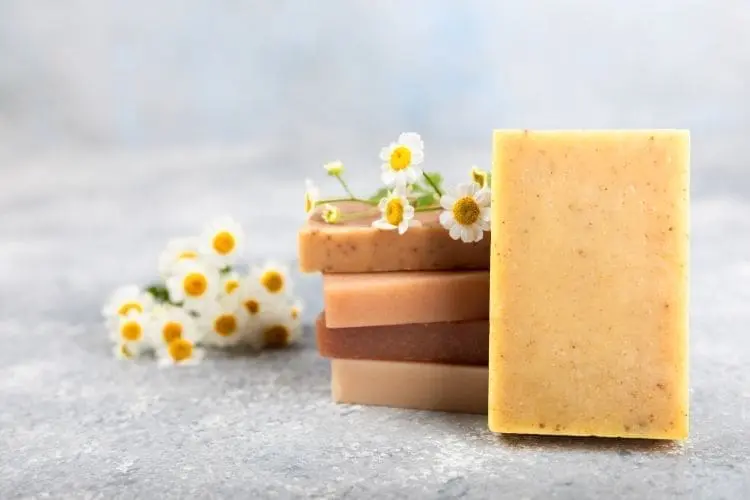 Skip synthetic dyes—go natural soap with ingredients like:
- Turmeric (golden yellow)
- Activated charcoal (black)
- Spirulina or matcha (green)
Textures can come from oatmeal, poppy seeds, or clay. These not only look great, but offer exfoliation or mineral benefits.
Avoid overloading your mix. Additives should enhance, not overwhelm, your base formula.
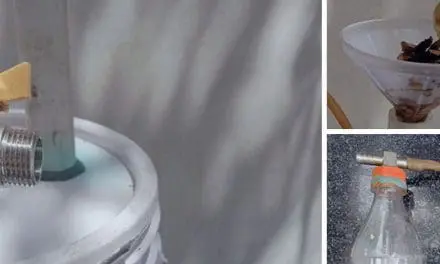
Hot Process Soap Making
Hot process soap making involves cooking the soap mixture until saponification completes. The result is a faster cure time and a more rustic bar.
Key points:
- Use a crock pot or double boiler.
- Maintain steady heat.
- Stir constantly as the soap thickens.
Once done, the soap can be used in just a few days. You can also add essential oils and herbs after the cook for a stronger scent.
Make Soap at Home
Soap making is more accessible than ever. Whether you’re crafting a few bars for your family or building up a barter stockpile, the basics are within reach.
You need:
- Basic equipment
- A clean workspace
- Natural ingredients
Follow your chosen method, take safety seriously, and start experimenting. Mistakes are part of the learning curve—embrace them.
Curing and Packaging the Soap
Cold process soap must cure for 4–6 weeks to finish saponification and harden. Set bars on a wire rack in a cool, dry area with good airflow.
Packaging options:
- Paper wraps (eco-friendly)
- Fabric bundles (rustic charm)
- Biodegradable plastic
Always label your natural soap, especially if you sell or gift it. Include ingredients and best-by date.
Tips for Selling Homemade Soaps
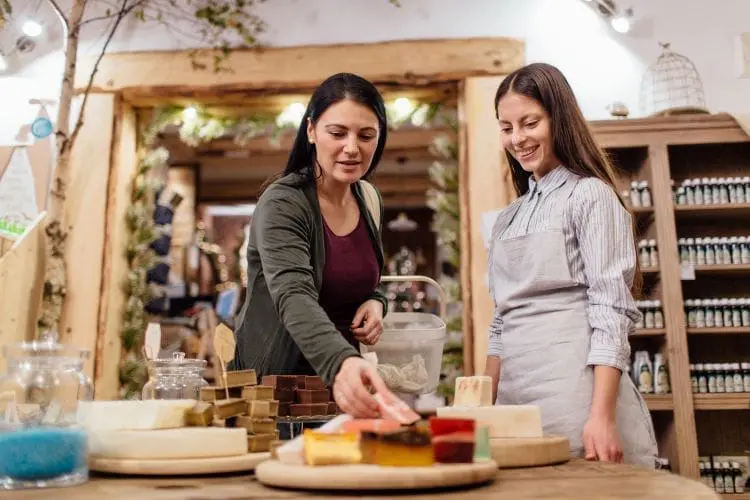 If you want to sell, think beyond the bar. Build a brand that tells your story.
Start by:
- Pricing your soap to cover ingredients, labor, and profit.
- Building an audience at farmers markets, craft fairs, and online.
- Offering samples and excellent customer service.
Word-of-mouth is powerful—especially in the self-sufficient community. Focus on quality, consistency, and trust. And always know how much soap you can make. You do not want to accept more orders than you could handle.
Advanced Soap Making Techniques
Ready to elevate your craft? Try these advanced techniques to make your homemade soap truly unique and professional:
- Layering different colored soaps: Slowly pour layers of contrasting colors into your soap molds, allowing each layer to set slightly before adding the next. This creates beautiful, distinct stripes or blocks in your soap bars, perfect for showcasing natural colorants like cocoa powder or turmeric.
- Swirling techniques using tools or natural colorants: After reaching trace with your soap mixture, add natural colorants or essential oil blends, then use a spatula, chopstick, or skewer to swirl the colors together. This technique adds eye-catching patterns and depth to your soap bars without compromising the saponification process.
- Embedding herbs or shapes into your soap: Add dried herbs such as lavender or calendula petals, or embed small soap shapes into the soap base before it fully sets. These soap additives not only enhance the visual appeal but also add texture and mild exfoliation, creating herbal soap varieties that delight the senses.
- Experimenting with solid oils: Incorporate solid coconut oil, palm kernel oil, or animal fat into your oil mixture to adjust hardness, lather, and moisturizing properties. Using these solid oils alongside liquid oils like olive oil gives you greater control over your soap’s final texture and performance.
- Using an immersion blender: For efficient and thorough mixing, use an immersion blender to combine both the lye solution and oils until the soap mixture reaches trace. This tool speeds up the saponification process and ensures all the soap additives are evenly distributed.
- Controlling air bubbles: When pouring soap batter into molds, gently tap the mold or spritz with alcohol to minimize air bubbles that can mar the surface of your soap bars. Properly managing air bubbles ensures a smooth, professional finish.
- Mastering soap cure: After unmolding, allow your soap bars to cure for 4 to 6 weeks in a cool, dry, and well-ventilated area. This soap cure period allows excess water to evaporate and completes the saponification process, resulting in a harder, longer-lasting bar with improved lather and mildness.
By incorporating these techniques and ingredients such as cocoa butter or shea butter, you can create luxurious organic soaps tailored to your preferences. Whether making shaving soap, lavender soap, or herbal soap, these advanced methods will help you take your homemade soap to the next level. Practice makes perfect—don’t be afraid to experiment with different soap bases, soap additives, and oils to discover what works best for you. Each batch is an opportunity to refine your skills and craft beautiful, natural soap that’s both functional and artful.
Common Soap Making Mistakes
Mistakes happen. The most common?
- Incorrect lye ratio: Using too much or too little lye can make your soap harsh or cause it not to set properly. Always double-check your measurements with a reliable lye calculator before mixing.
- Not curing long enough: Soap needs adequate time—typically 4 to 6 weeks—to cure properly. Insufficient curing results in a soft bar that may irritate skin or dissolve quickly.
- Overheating or seizing the mixture: High temperatures or rapid mixing can cause the soap batter to seize (become grainy or clumpy), making it difficult to work with.
- Adding additives too early or late: Essential oils, herbs, and colorants should be added at the right stage—usually after reaching trace—to ensure even distribution and preserve their beneficial properties.
- Using improper equipment: Avoid reactive materials like aluminum, which can react with lye and compromise your soap’s quality and safety.
- Poorly prepared molds or workspace: Not lining molds with parchment paper or failing to cover the soap during the initial rest can cause sticking or uneven curing.
Fixes include re-batching (melting and reshaping soap), adjusting your recipe, or simply learning from experience. Patience, precision, and safety go a long way in mastering homemade soap making. Remember, even expert soap makers encounter setbacks—what matters is how you adapt and improve with each batch.
Final Thoughts – Homemade Soap Making Is A Wonderful Experience!
 Homemade soap is practical, sustainable, and deeply satisfying. It’s a skill that empowers you, reduces waste, and improves self-reliance.
Keep safety first, learn the basics, and never stop experimenting. The more you practice, the better your soap—and your confidence—will become.
If you’re serious about building a full herbal toolkit at home, check out The Forgotten Home Apothecary. This guide teaches you not just how to make soap, but how to heal, clean, and thrive using the plants and ingredients you already have nearby.
Because self-sufficiency isn’t just about surviving—it’s about thriving on your own terms.
You may also like:
The Soap That Might Be Growing In Your Backyard
How to Make Salt from Plants (Video)
The Natural Toothpaste That Might Be Growing in Your Backyard
Best Non Toxic Bakeware: A Comprehensive Guide for Self-Sufficient Living
Big Mason Jars: The Self-Sufficient Kitchen’s Best Friend


Wait, you have 10 oz of distilled water in your recipe, and I’m trying to see if that’s right?? I can’t get mine to cure, and I think it’s the extra 10 oz of distilled water, ontop of the lye mix.. but please let me know
Thanks
Hello Andrew, sorry for the late response. You’re absolutely right to question the water amount, too much can definitely slow or even prevent proper curing. In most cold-process soap recipes, the distilled water is included as part of the lye solution, not added separately. If you used an additional 10 oz on top of the lye mix, your soap likely has excess moisture, making it soft and slow to harden. Try reducing the total water next time to just what’s needed to dissolve the lye, and let your current batch cure longer in a dry, ventilated space. It may still firm up over time.